Purchases Archive

Chamberlain MyQ Garage Door Opener Testing

Posted November 27, 2016 By Landis V

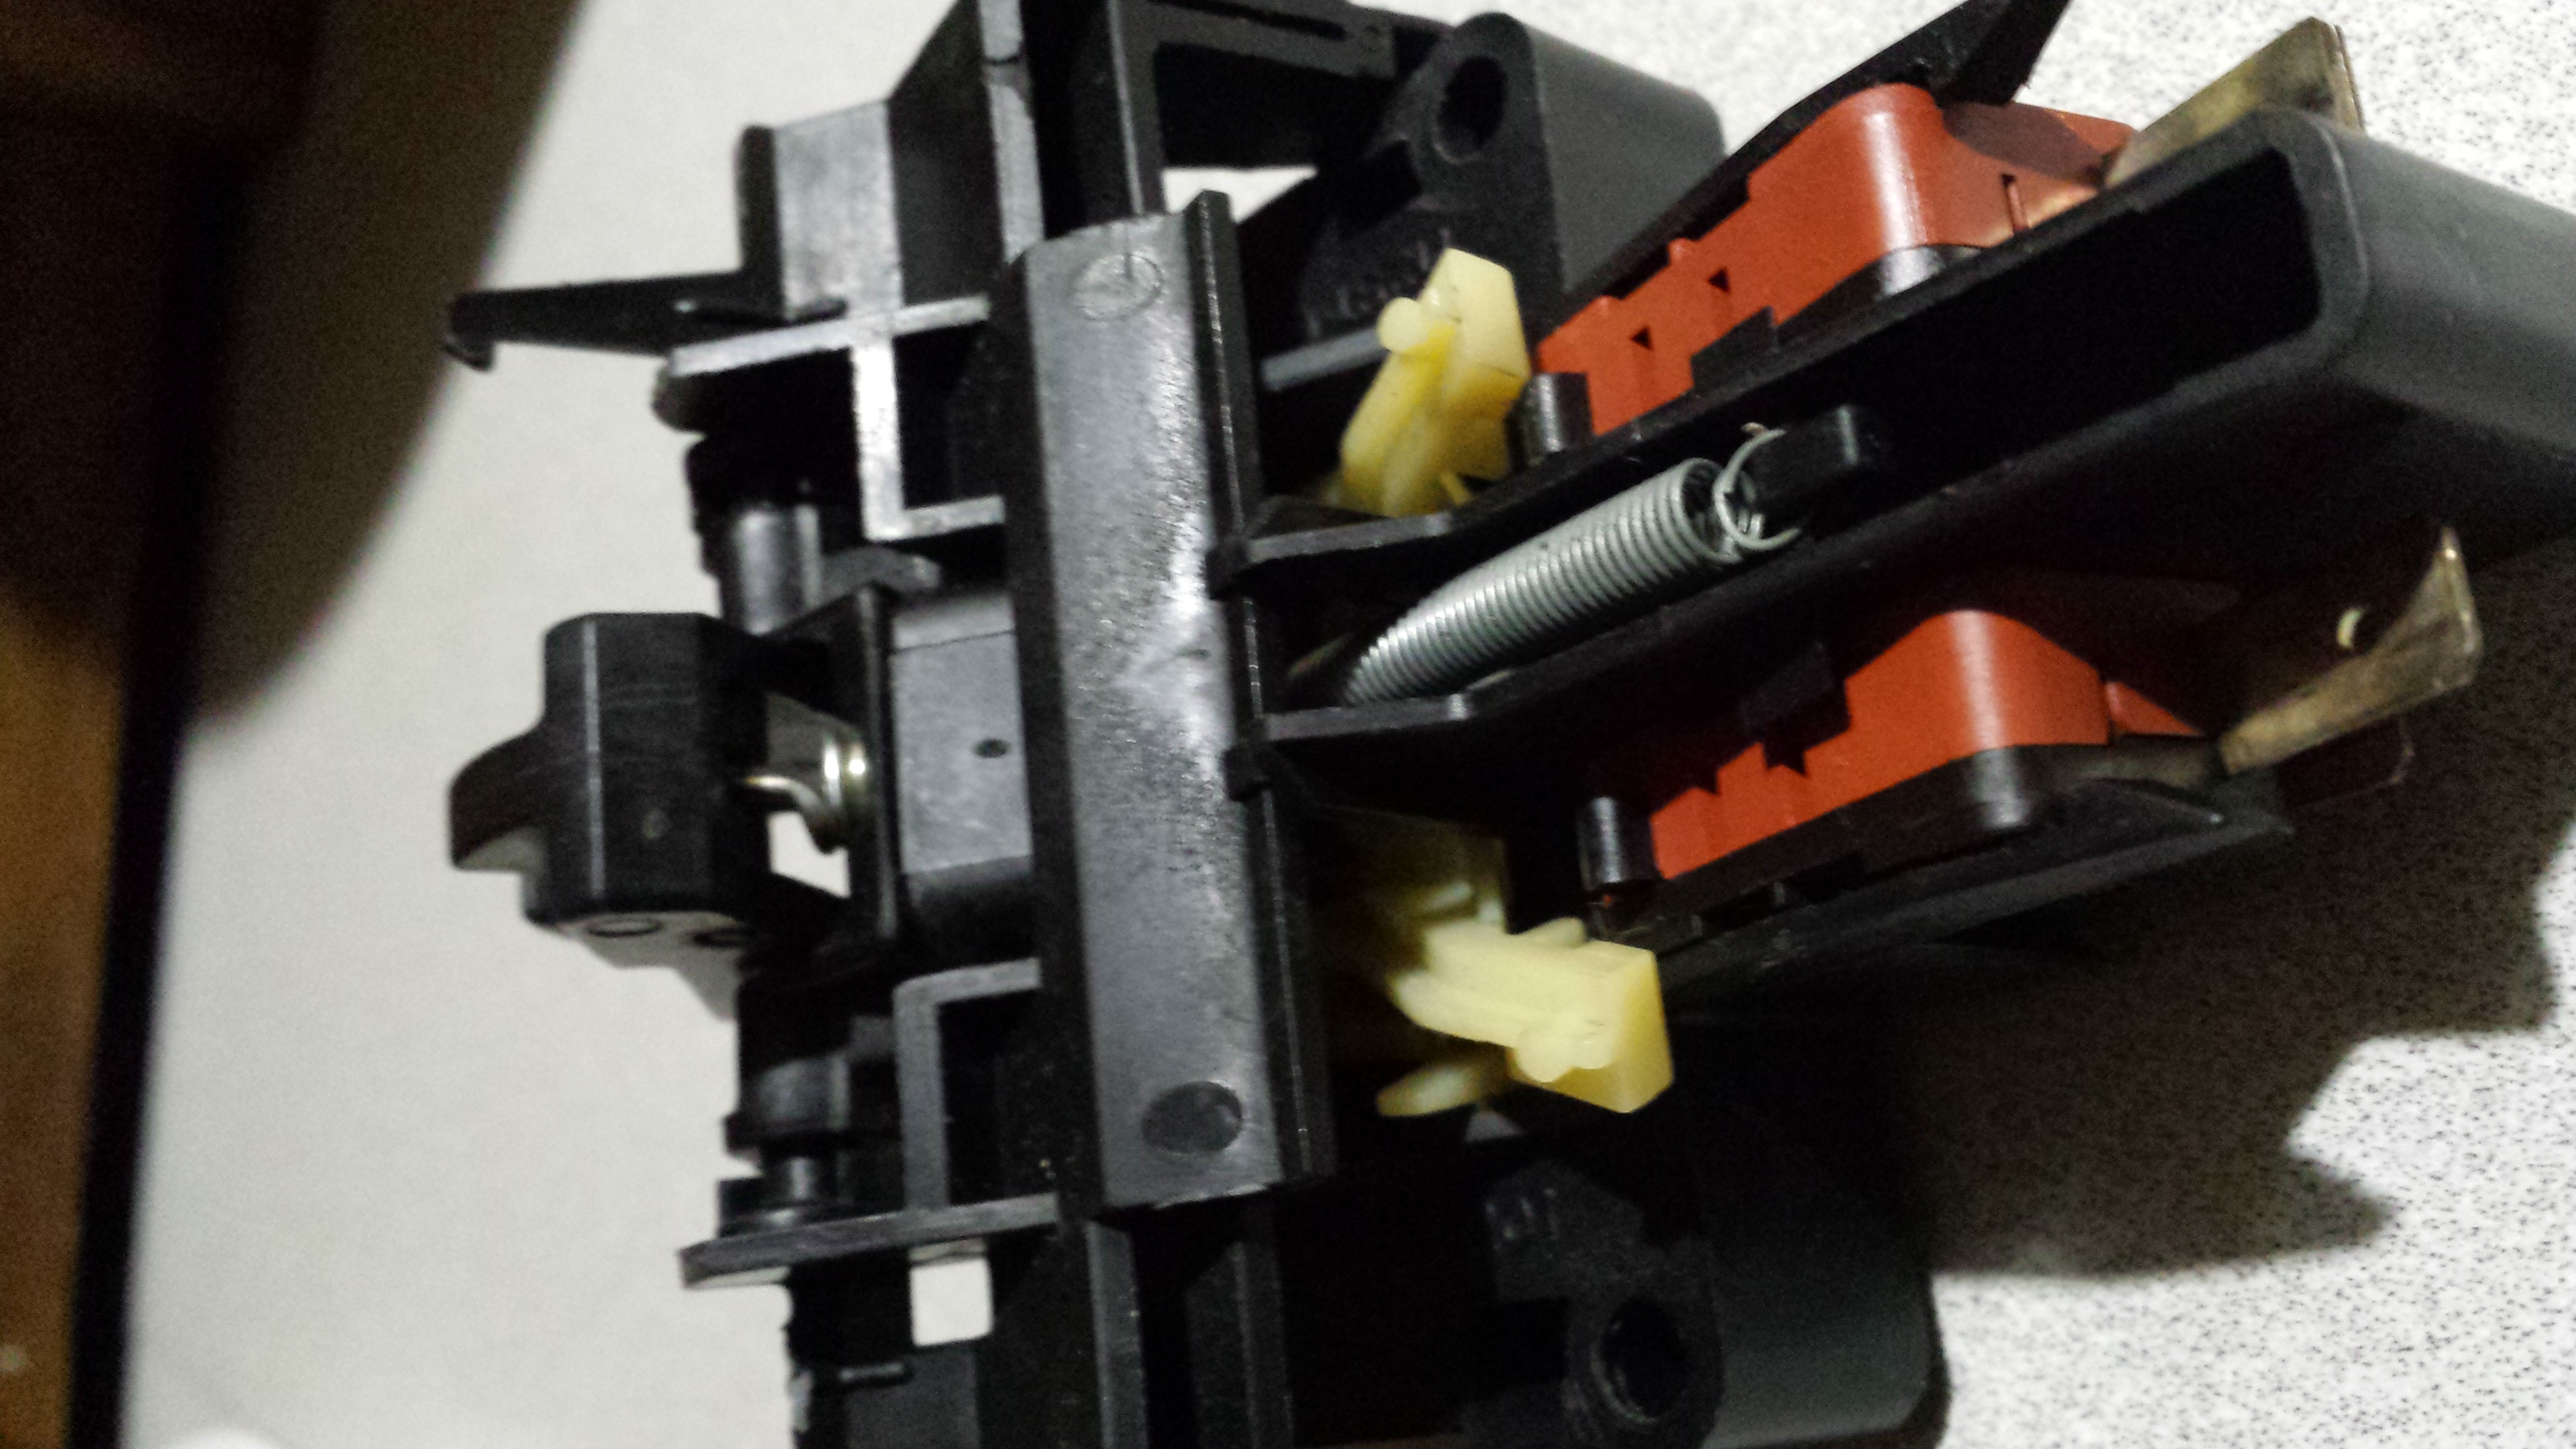
Got a great deal on some Chamberlain MyQ wifi garage door openers recently.  As I’m setting them up, I really want to see what kind of conversations they have, so I’ll be making a few notes.  As usual, I’ll be working with my VM setup, using Kali in this case.

I have a Netis WF2120 USB wireless adapter that I’ll be using under Kali.  The vendor/product code is 0bda:8176.  Planning to use Kali as an AP.  I installed hostapd on Kali with ‘apt-get install hostapd’.  Added a USB filter to pass the Netis through to the guest with ‘vboxmanage usbfilter add 2 –target kali –name NetisWIFI –vendorid 0x0bda –productid 0x8176’.  After shutting down and restarting the VM, my wireless adapter was available as wlan0.

Enabled root login for SSH on my Kali box as VRDE… sucked.  Slow and very unresponsive.

Created /etc/hostapd/hostapd.conf with approximately the following contents:
ssid=TheSSIDOfYourChoiceWillEndYourLifeTonight
wpa_passphrase=YeahPostThat
ctrl_interface=/var/run/hostapd
interface=wlan0
driver=rtl8192cu
channel=1
wpa=2
wpa_key_mgmt=WPA-PSK

Edited /etc/default/hostapd and configured ‘DAEMON_CONF=”/etc/hostapd/hostapd.conf”‘.

Attempted to start the hostapd service, got “Line 5: invalid/unknown driver ‘rtl8192cu'”.

Tried editing NetworkManager.conf and adding a keyfile configuration to exclude the MAC of the device, followed by restarting /etc/init.d/network-manager, without much success.  Yielded same error.

Ran a ‘modprobe -r rtl8192cu’ and attempted to restart the hostapd service with the same error.  Tried changing the “driver=” line to ‘driver=rtl871xdrv’ with the same results as well.

Remarked the “driver=” line in hostapd.conf and attempted to restart the service; got a little further, but still did not seem to start.

Went back to the instructions at https://bogeskov.dk/UsbAccessPoint.html.  The ‘apt-get install linux-headers’ was not successful on my platform, so ran ‘apt-get install linux-headers-4.6.0-kali1-amd64’ instead, which was already installed in my case.  Created and cd’ed to an rtl directory, then ran ‘git clone https://github.com/dz0ny/rt8192cu.git’.  Attempt to make drivers failed.

Ran an ‘apt-get update’ and ‘apt-get upgrade’ to see if I could get around the issue.  Seem to be issues with the 4.8.x kernel on Kali as well; system fails to boot using that kernel.  Have to come back to this one later, will create another post for hostapd with the rtl8192cu and see if I can come up with a better way to work around that problem.

Might be useful to take a look for the referenced article on burp from http://cybergibbons.com/security-2/quick-and-easy-fake-wifi-access-point-in-kali/ once I get hostapd on solid footing on its own (which is getting closer).

Additional Links

Be the first to comment

I hate it when I’m away from home and either the ISP or some of my equipment glitches, necessitating a reboot or two.  I have enough systems in place that I should be able to automate this process.  To do so, I need to get some remotely controllable equipment, create the state diagram (not good if I power cycle one of the network components required to reach the remote switch and it doesn’t come back up!), and write the scripts to run the logic.

I’d also like to have easily accessible power switches in my data closet so I can power cycle the devices without having to pull them down and unplug the power from the back of them.

Hardware components I’ve looked at

SainSmart 16 channel web relay – at Amazon.  This could work if installed between the transformer block and the switches.

Ethernet relay on eBay, claims to be AC250V @ 10A, though that would probably be pushing it.  Would have to look up the specs on the relays they used.  For the watt draw on the AC, depending upon the size, might be able to install it inside a large surge protector housing and wire the outlets through it.

Controllable Four Outlet Power Relay Module – at Adafruit.  Not network connected, and would require some other device to control it.  But most likely UL listed and designed to handle AC.

Ended up finding a Digital Loggers LPC-3 on eBay for $57 shipped that should do the job nicely.  Manual is here.

Be the first to comment

More 434MHz stuff to look at later

Posted August 20, 2016 By Landis V

Acurite #0899 self emptying rain gauge – at Amazon

Blog post on reversing the signal from Acurite temperature sensors; may be similar for the rain gauges.  Also mentions the RTL SDR.  Probably wouldn’t be bad to have.

Another blog post regarding reading the Acurite 5n1 station.  Possible that part of this will already cover the rain gauge.  Also discusses SDR and mentions the rtl_433 tool.

This blog post looks like rtl_433 supports the Acurite 896 decode natively, so if the protocol is similar or the same it may be simple.

RTL Software Defined Radio – at Amazon – seems like it’s probably a decent model, some good reviews.  Looks like there’s a little more to it than just “buy this and set up the software”.

Bought a cheap receiver off of eBay from Hong Kong for $7.31 (original listing).

Also, here was an Instructable about making a cheap combination RF/Bluetooth/433 MHz remote using an Arduino.

Additional Links

Be the first to comment

Stellar garage organization

Posted July 3, 2016 By Landis V

This guy has the best garage organization I have ever seen.  Definitely will be taking some ideas from this page for tool and garage organization.

http://www.garagejournal.com/forum/showthread.php?t=174553&showall=1

Be the first to comment

On Networks N150R Routers

Posted June 13, 2016 By Landis V

Picked up a couple of these from Newegg for free plus a couple of bucks shipping after rebate.  Figured that in combination with a couple of relays on the GPIOs, I could probably use them for switches or work with the serial port for a sensor connection.  Just a few notes on them.

OpenWRT 15.05 Chaos Calmer patched to expose the GPIOs:  https://micu.webserwer.pl/pmwiki/pmwiki.php?n=OpenWRT.Downloads

Forum thread on not flashing direct to 15.05.1; I went to 14.07, then to 15.05.  https://forum.openwrt.org/viewtopic.php?id=51576

OpenWRT Wiki page with device info including GPIOs https://wiki.openwrt.org/toh/netgear/wnr612v2

Controlling the GPIOs

From here, the simple way to control the GPIOs natively is with the “brightness” value for the LEDs.  By example for the LAN1 LED (others are in the same path):

root@OpenWrt:~# echo 0 > /sys/class/leds/netgear\:green\:lan1/brightness
root@OpenWrt:~# echo 1 > /sys/class/leds/netgear\:green\:lan1/brightness

Update 9/18/2016

Finally got the LAN2 LED peeled off of the board, had a heck of a time with it.  After doing so, I discovered that I only get ~2.5v across the pins when the GPIO is active… not enough to drive my 3.3v relays.  I assume they are probably using a voltage divider here.  Measuring the resistance between the positive and negative ends of the LED without power applied, I get about 1580 ohms one direction, and 670 in the other.  There appears to be a ~960 ohm resistor at CA111, but I haven’t figured out exactly how this ties in.

Update 10/9/2016

Spent some time with this again over the past couple of days.  I removed the resistor at CA111, but apparently it is not a divider.  May need to spend some time to see if I can make something work with a 2N7000 MOSFET or something like that, but I’m pretty novice so that will take some effort.

I did test out my 433MHz ASK receiver on the TTL serial port, but without much luck.  This OpenWRT page was helpful in getting stty installed and setting the baud rate on the serial port,

‘stty -F /dev/ttyS0 9600 clocal cread cs8 -cstopb -parenb’ to set the config, and
‘stty -F /dev/ttyS0 -a’ to verify the config

but still didn’t get any output.  I’ll have to give it a shot with my Raspberry Pi just to see if I can get anything out of there.

Be the first to comment

Amana SofSound II Door Latch Replacement

Posted April 19, 2015 By Landis V

I’ve had such a great response to my West Bend slow cooker lid replacement post that when I found a bargain alternative part replacement for my Amana SofSound II dishwasher door latch, I thought I’d share this information as well.

We inherited this dishwasher when we purchased our house a few years ago.  The handle was always a little finicky and was probably broken from the onset, but our toddler seems to have finished it for good so we can no longer manipulate it in any way so that the relays in the handle will switch to allow current to the assembly.  I’m a DIY’er, so I turned to the Internet first using the machine model/manufacturer numbers, ADW350RAB and PADW350RAB0 respectively.  These turned up part numbers such as R0000430 and W10208084, which were pricey at around $100.  Further searching led to the Whirlpool AP4357962 and related, but these were still pretty pricey coming in north of $90 for a few pieces of plastic and a couple of relays.  Finally I ran across the Electrolux 5304442175 Latch Kit on Amazon for less than $27, and decided that was about the best I was going to do.  It worked fabulously!

I should advise that there are some subtle variations between the original part (in pictures below) and the replacement.  Probably the most notable of these is the tiny missing clip from the back of the latch body, shown in picture four.  I don’t think this will ever make much difference, and I’m relatively confident the two large screws (torx T25 if memory serves) will adequately hold it in place, and that the tab wouldn’t do much if they were to fail.

In the pictures below, you can see that the white “legs” on the left of the picture no longer contact the proper locations on the switches (small black rectangles near the spring).  The second picture shows the part number I used (154361203D) that got me closer to real results after removing the failed switch, and the last image shows the broken white plastic crossconnect that used to hold the switch legs parallel.

2015-03-24 20.50.43 2015-03-24 20.51.20 2015-03-24 20.52.03 2015-04-19 18.10.46

Please note, I explicitly disclaim any liability if you undertake such a replacement yourself.  This replacement takes place in immediate proximity to electrical current in an appliance that uses water, substitutes a factory part for one that does not appear to be specifically designed for the appliance, and has been performed and described by an individual who is decidedly not an expert in home appliance repair.  If you are not confident in your ability to safely perform such a replacement, please contact a competent appliance repair person.

Be the first to comment

KLAX – Lumberjack – Klecker Knives

Posted March 28, 2015 By Landis V

http://www.kleckerknives.com/klax-lumberjack/

One of these guys would be neat, no doubt about it!

Be the first to comment