Landis Vinchattle An aggregation.

January 5, 2015

Recent mini-PC/router devices of interest

RockTek RT-A1, priced at $65 on NewEgg Flash on 1/5/15.  Quad core, HDMI output up to 2048 x 1536.  Appears to be only a 10/100 ethernet, but has a couple of USBs to which GigE adapters could be connected for up to 480Mbit theoretical throughput.   Also has a composite video out, which could theoretically be paired with one of these 4.3″ LCD “backup camera” displays for a convenient method to apply updates, etc.  Caveat is that there does not seem to be much hackery on it to run Linux natively, but it is tempting to pick one or two up to play with and see what could be done.
Also ran across this Foxconn AT-5570 (manufacturer page here, also on sale at NewEgg Flash for $90, though it would need to have RAM and storage added).  Higher price and lower performance would make this somewhat less appealing.

The Foxconn was perhaps most interesting because it led me to the Jetway motherboards with multiport ethernet daughterboards.  This auction page had a six port GigE model.  The four port daughterboard is the Jetway ADE4RTLANG, and several of the Jetway mini-ITX mainboards include dual ethernet ports natively.  Quite a bit higher priced, but might prove useful at some time.

Also interesting was the Odroid-C1 currently selling at the same price as the RPi, and their intro/getting started kit with the required SD card as well as a breakout board and some basic electronic components to get familiar with the device is on sale for under $70 through January 7th when paying with PayPal.  The C1 is, I believe, almost pin-compliant with the header on the RPi.  It has a quad core 1.5GHz processor, 1GB DDR3, and a gigabit ethernet interface.
January 25, 2014

DIY Stir Plate Build

Filed under: Fabrication,Food and Drink,Links,Uncategorized — Tags: , — Landis V @ 11:10 am

I recently posted a link to a DIY stir plate build and needed to get started on my own list to keep track of supplies I have, supplies I need, and where I’m at in that task.  (Note:  As of 2/5, I completed this mostly with equipment I had on hand.)

Part List

List of parts and prices for the build.

  • 120mm Computer case fan
    • Had on hand, typically available for <$5 if you look (techbargains.com, slickdeals.net)
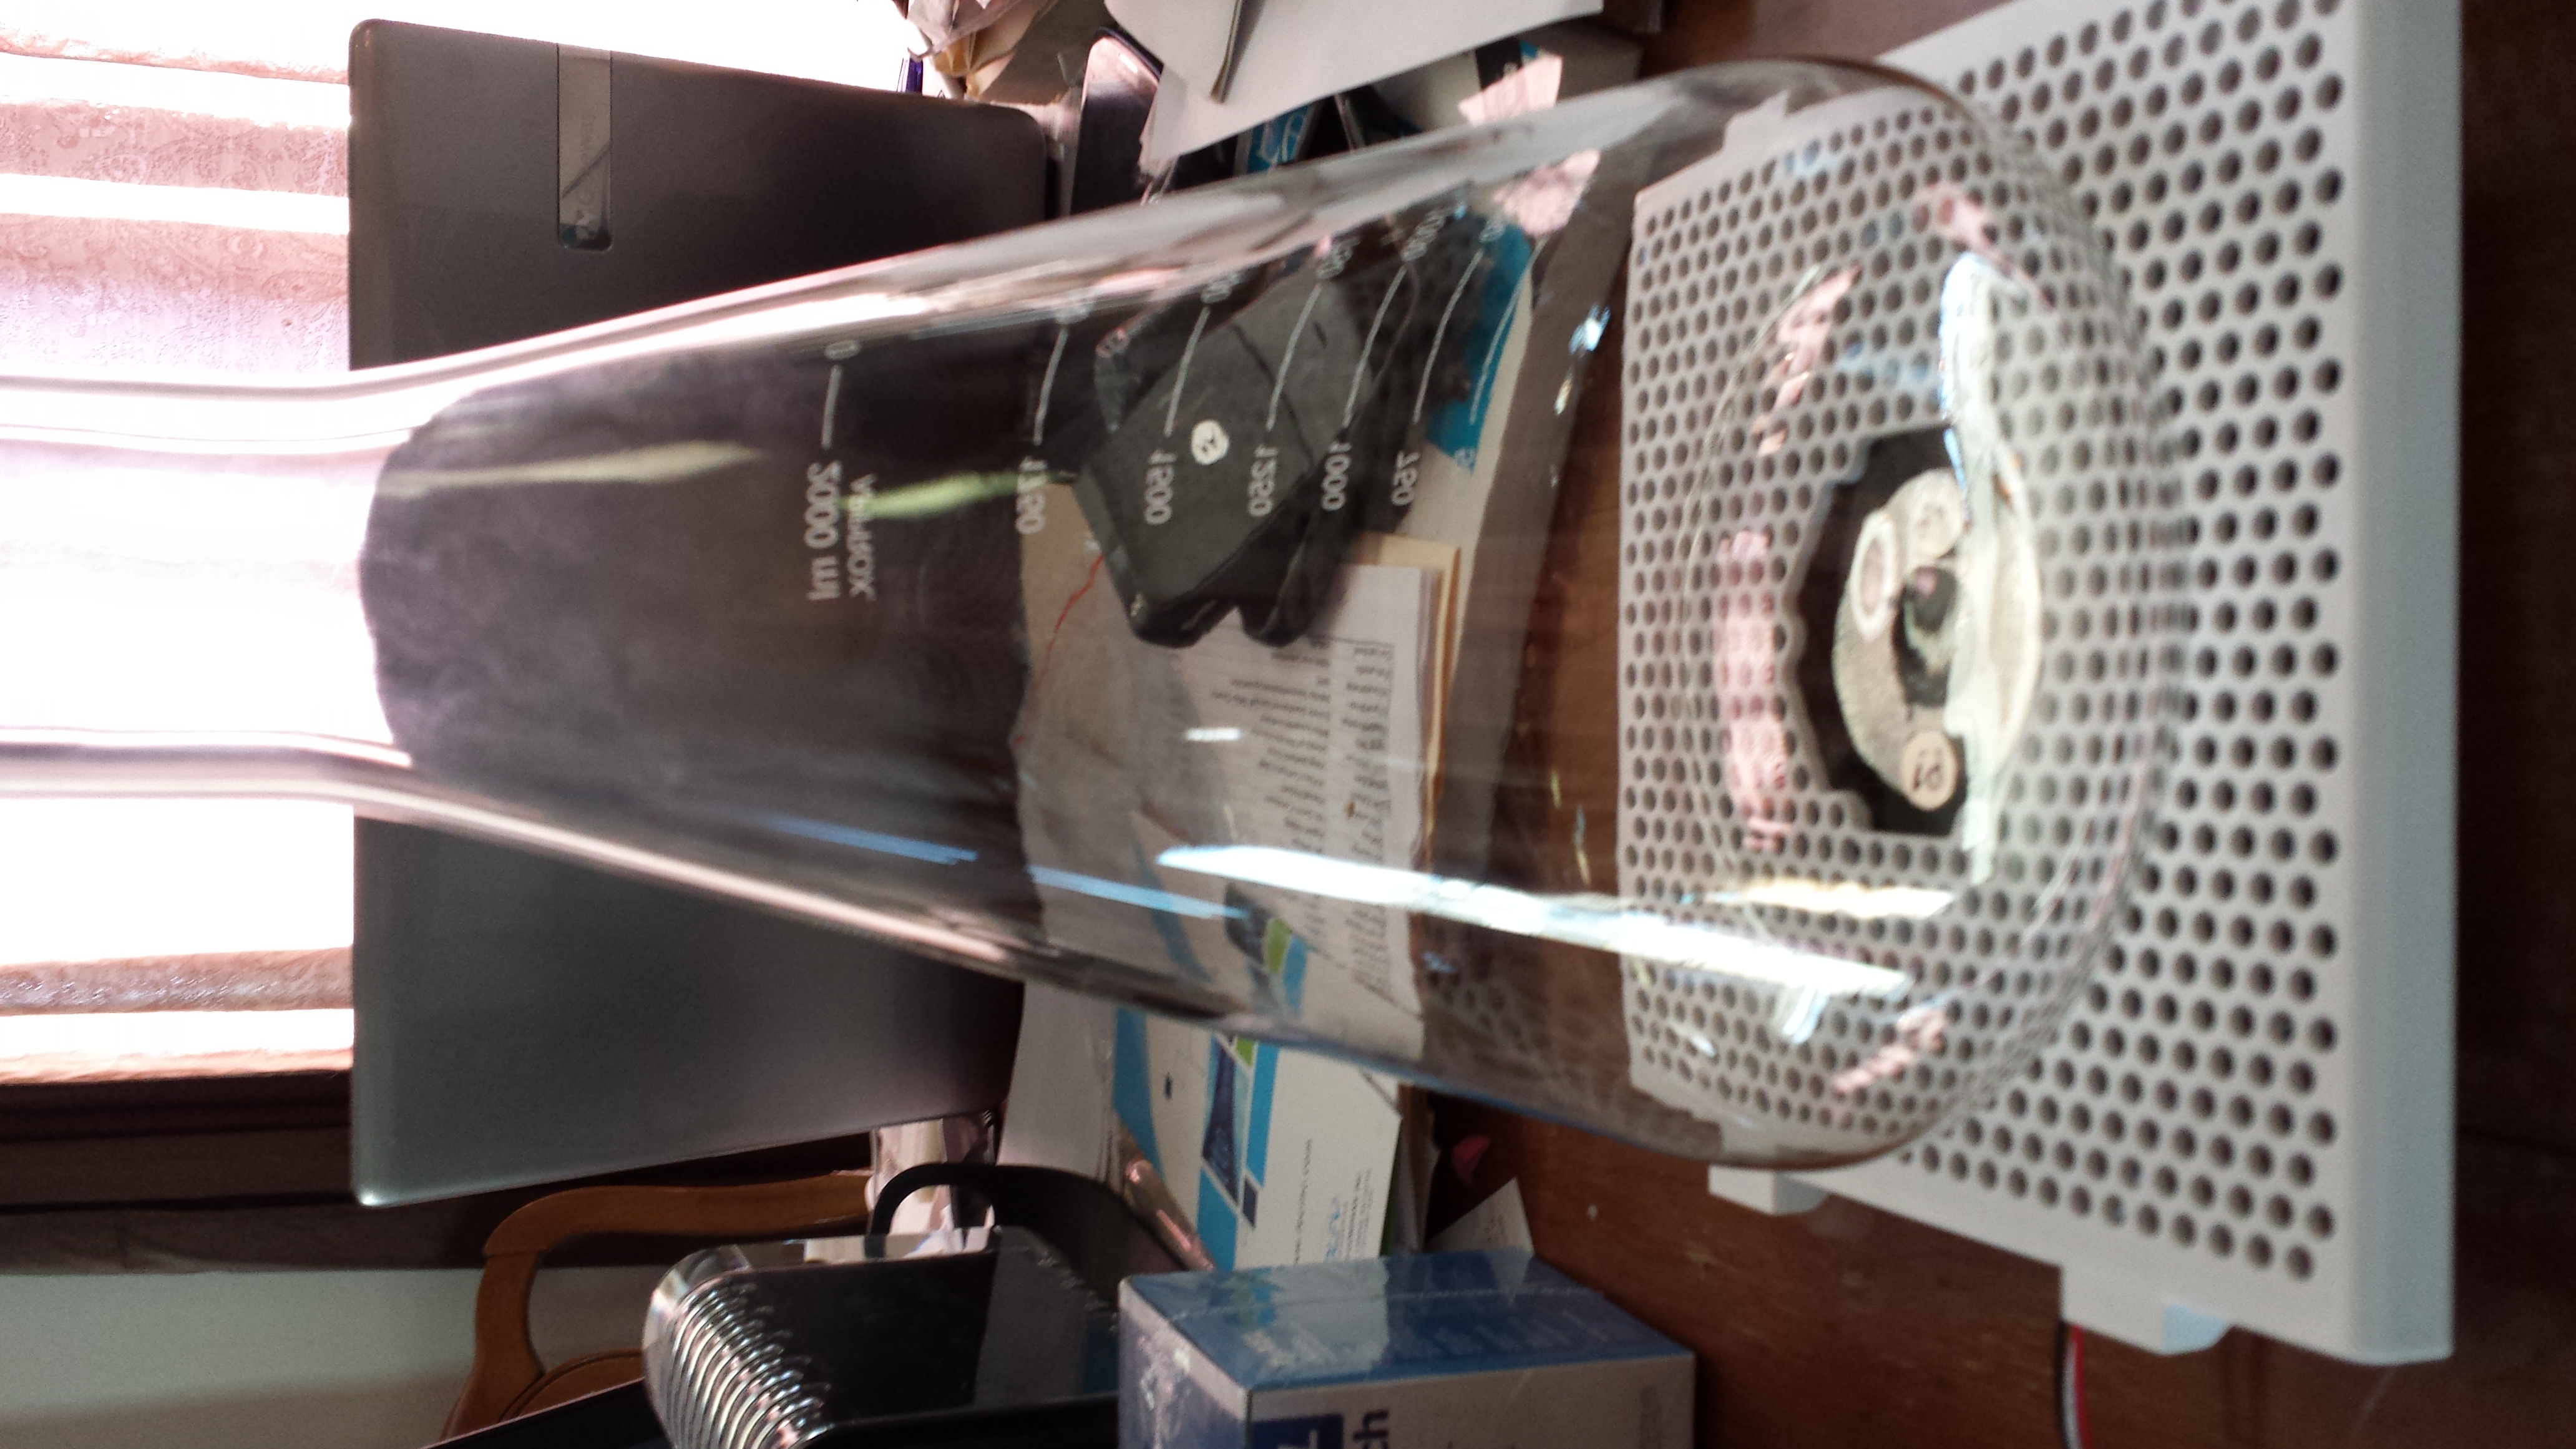
  • Erlenmeyer 2000ml flask
    • (Purchased) Amazon $14.25 (10-Jan-14)
  • Epoxy
    • JB Weld, had on hand, Menards $4.67/Amazon $6.64/Wal Mart $4.67
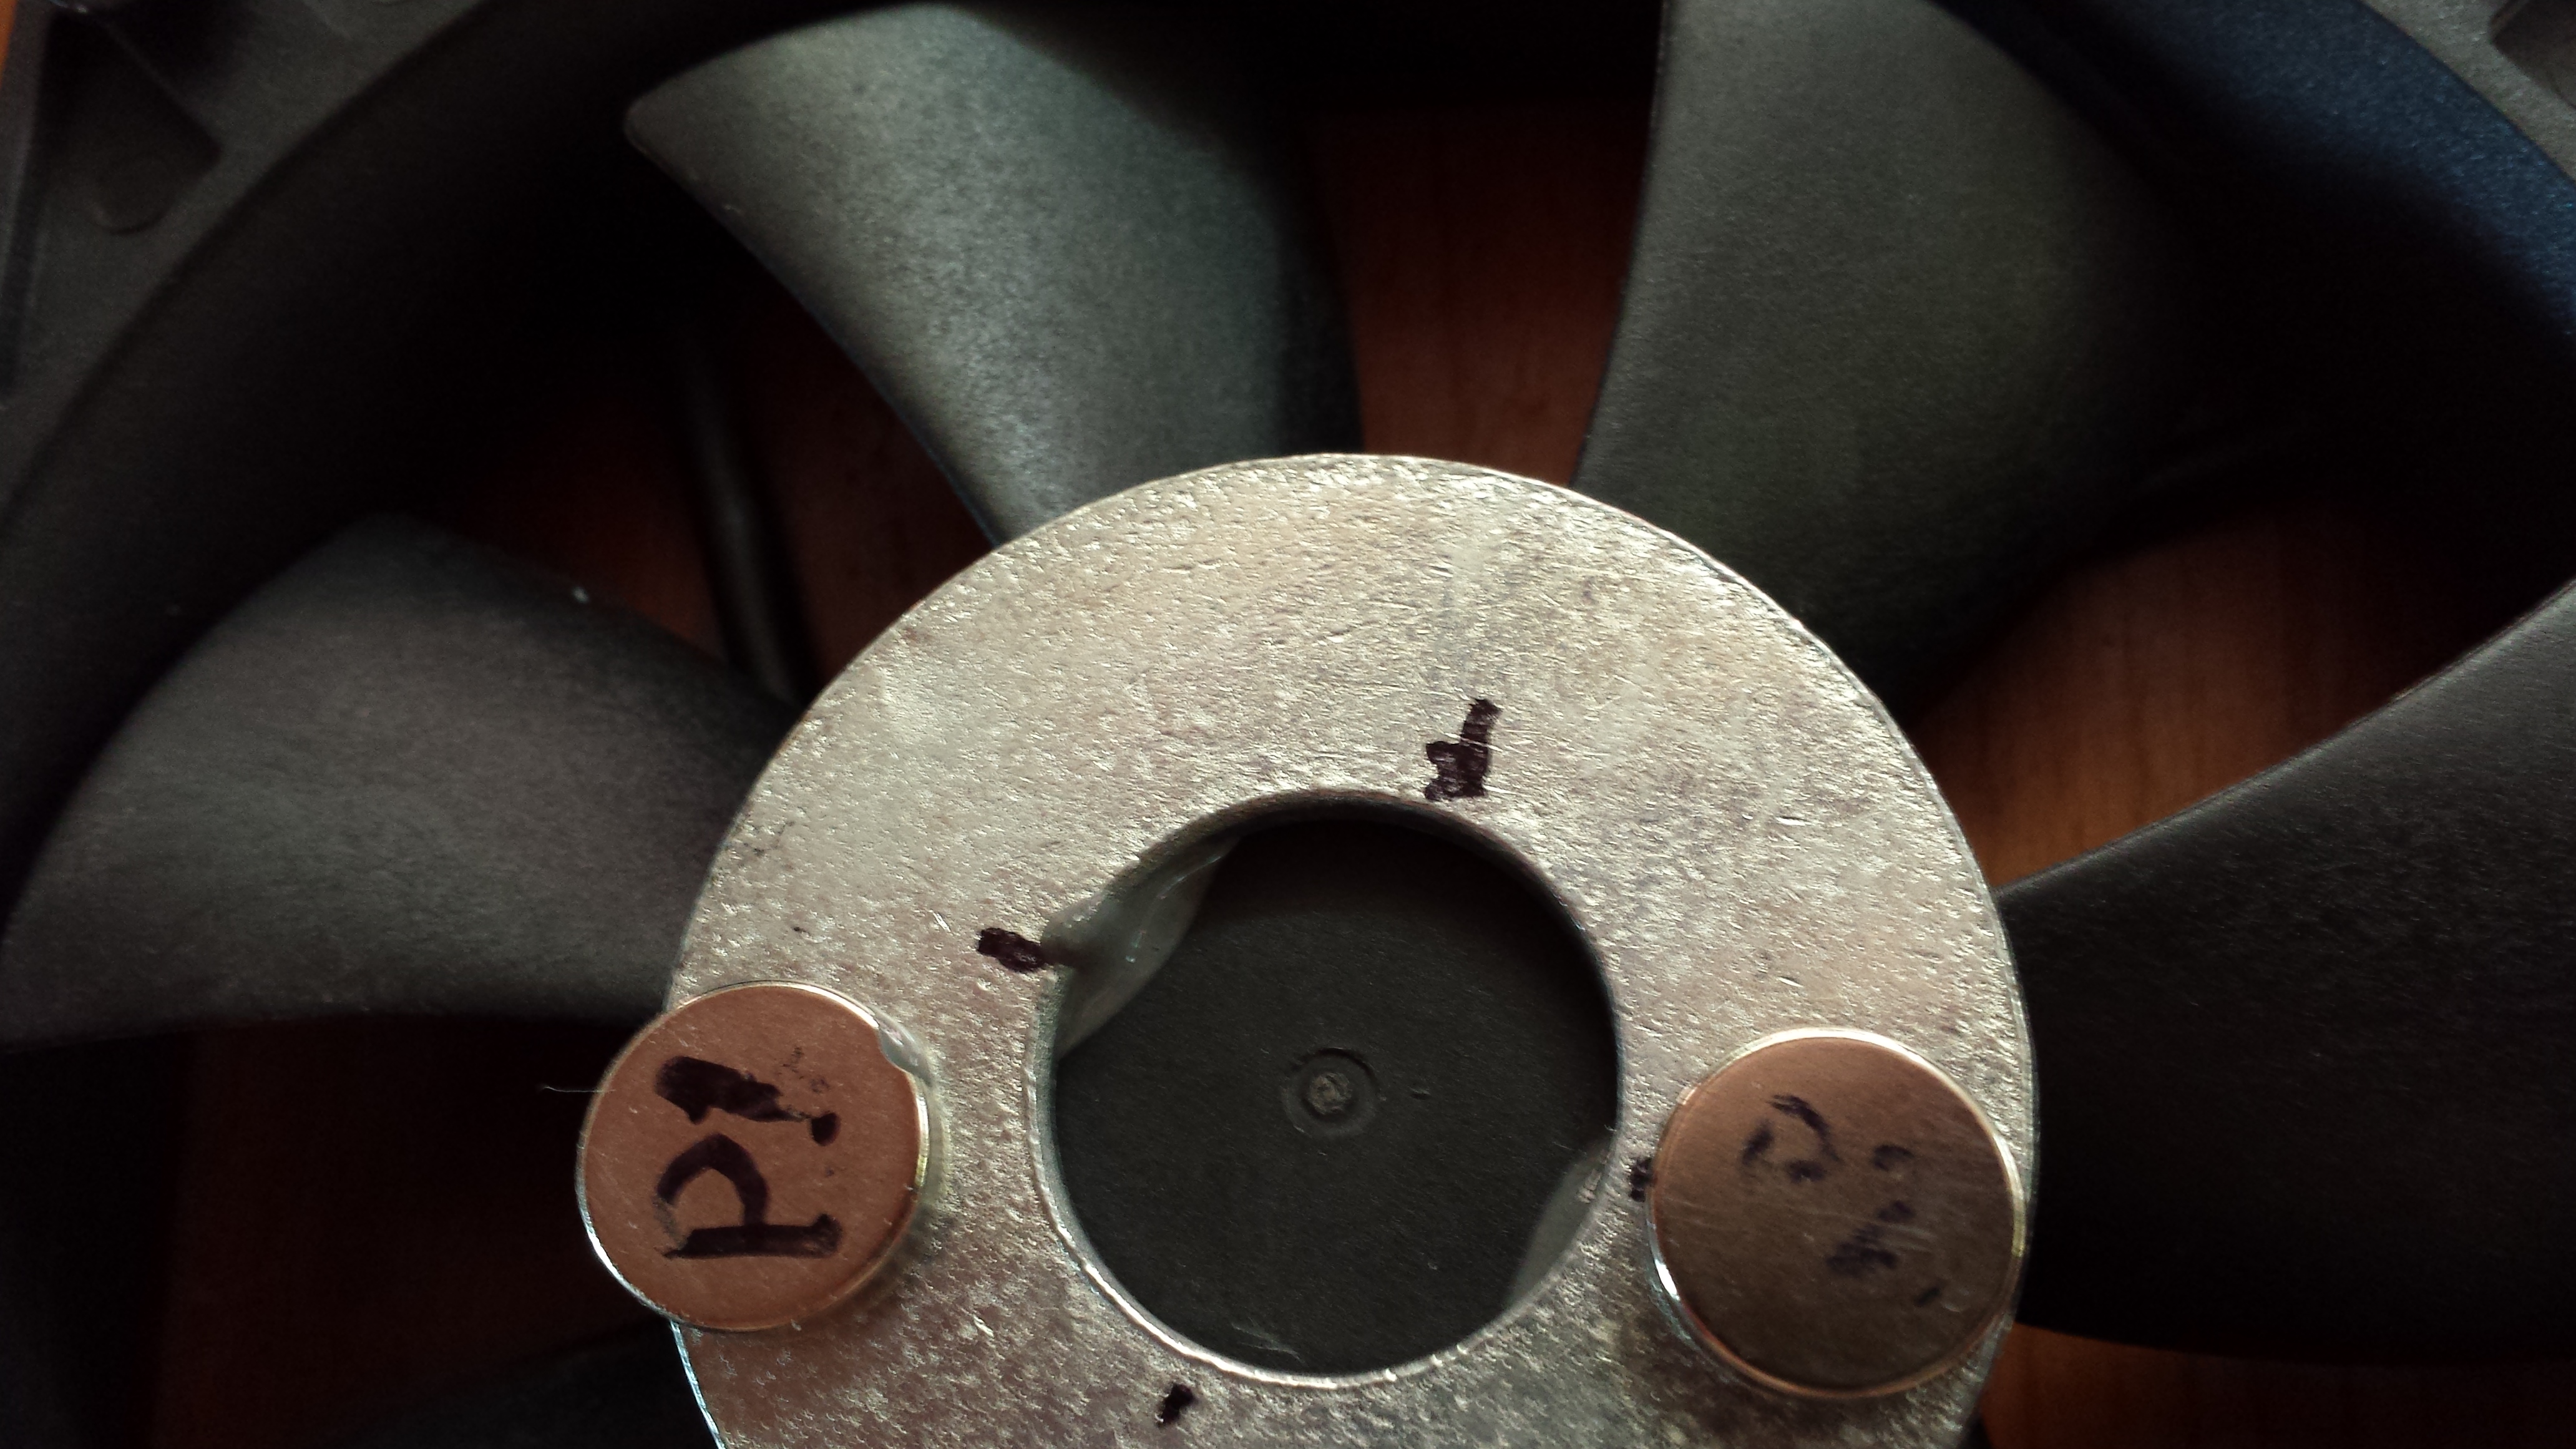
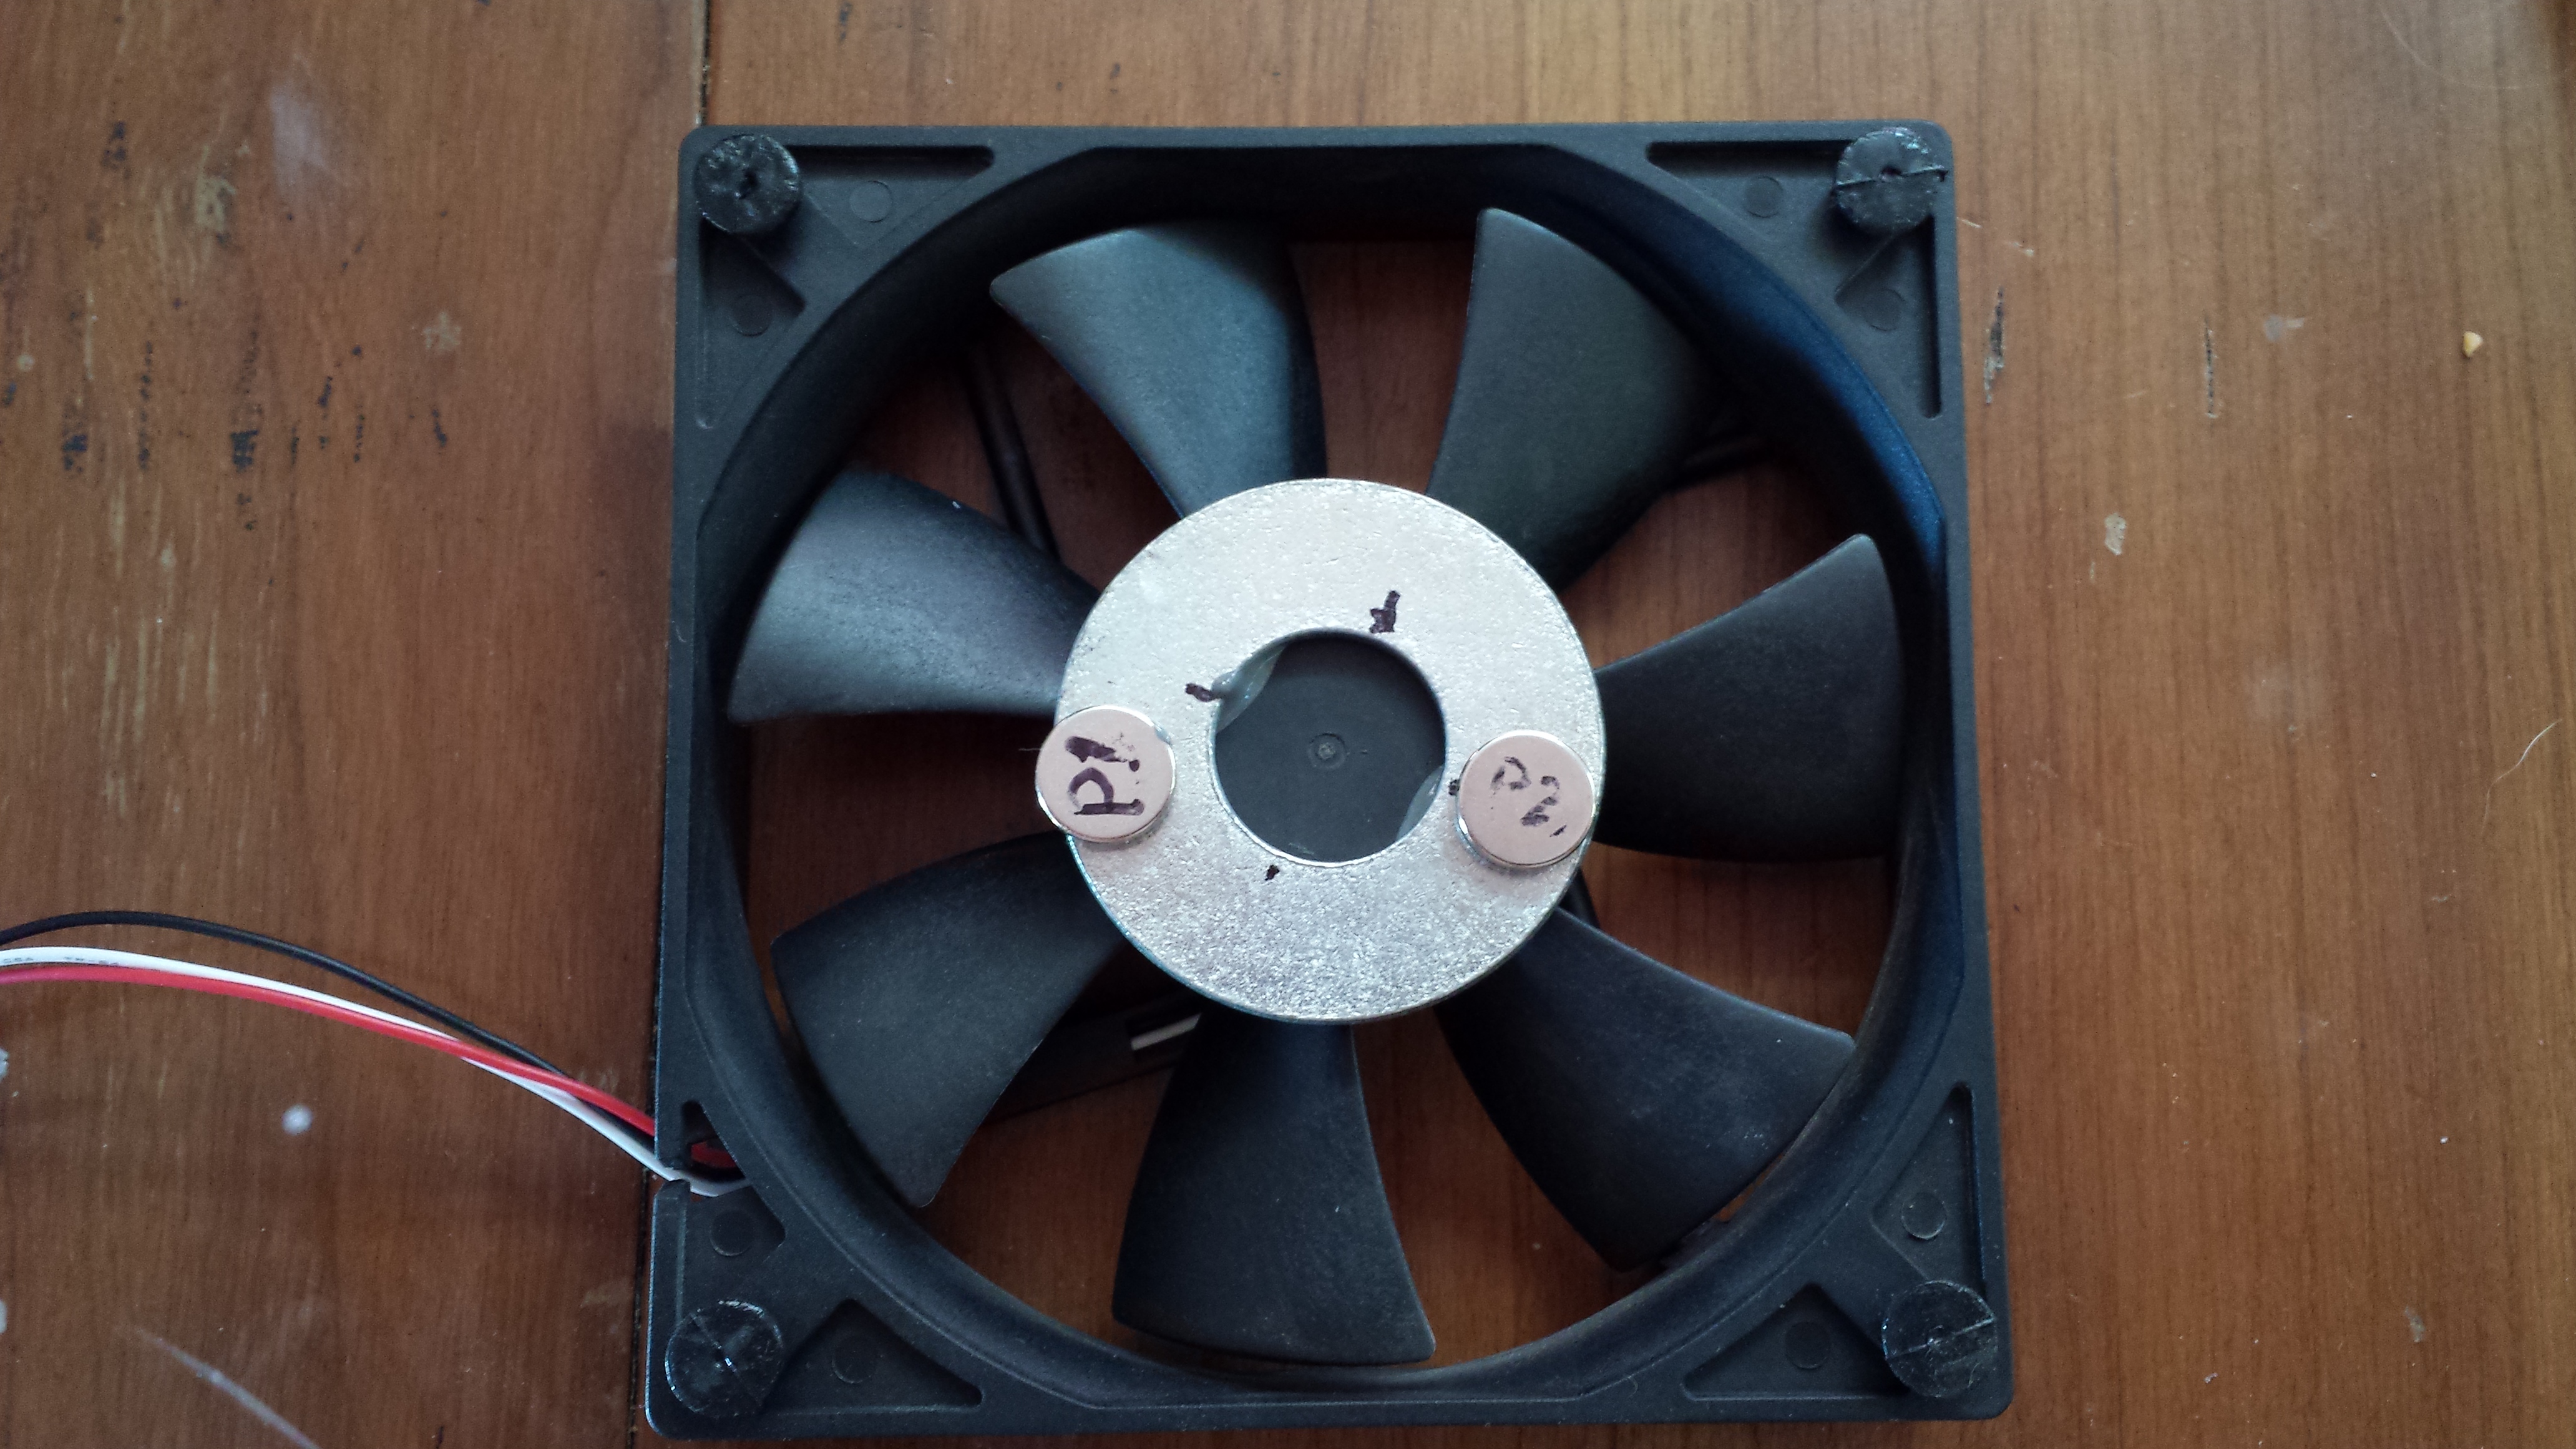
      • I was surprised to discover that this stuff apparently does actually contain steel.  While affixing the washer to my fan, I observed a small finger of the blended epoxy creeping out from under the washer and towards my magnet.  I’d suggest marking the position of your magnet(s) and centering based on your marks, and not attempting to assemble with the magnets in place.  Otherwise, you may find them epoxied in place!
  • Misc hardware (nuts/bolts/washers for table attachment/standoff)
    • Had on hand.  Used rubber anti-vibration pads that came with the case fan I replaced with the one I had on hand.  I just set the table on top of the fan on the side with the rubber pads protruding and approximately center it.
  • Neodymium/rare earth magnets
  • Stir bars
  • Table to support Erlenmeyer flask above fan
    • Had on hand/made from a ~10″ square piece of plastic, probably about 1/8″ thick, that came from one of those old lights that uses the heat from the bulb to turn an impeller (propeller? should look this up I guess) to cast a rotating image on walls/ceiling through a cellophane medium.
  • Washer (large)
    • Had on hand; if you don’t, less than a buck at the local hardware.
  • 12V Power supply
    • I had one of these on hand that already had a power switch, and had the quick wiring disconnects so I could just tie it right onto the red and black leads from my fan.
  • Potentiometer
    • I picked up a potentiometer from Radio Shack to allow me to control the speed, but I’m not sure I’m going to need it.

Build Process

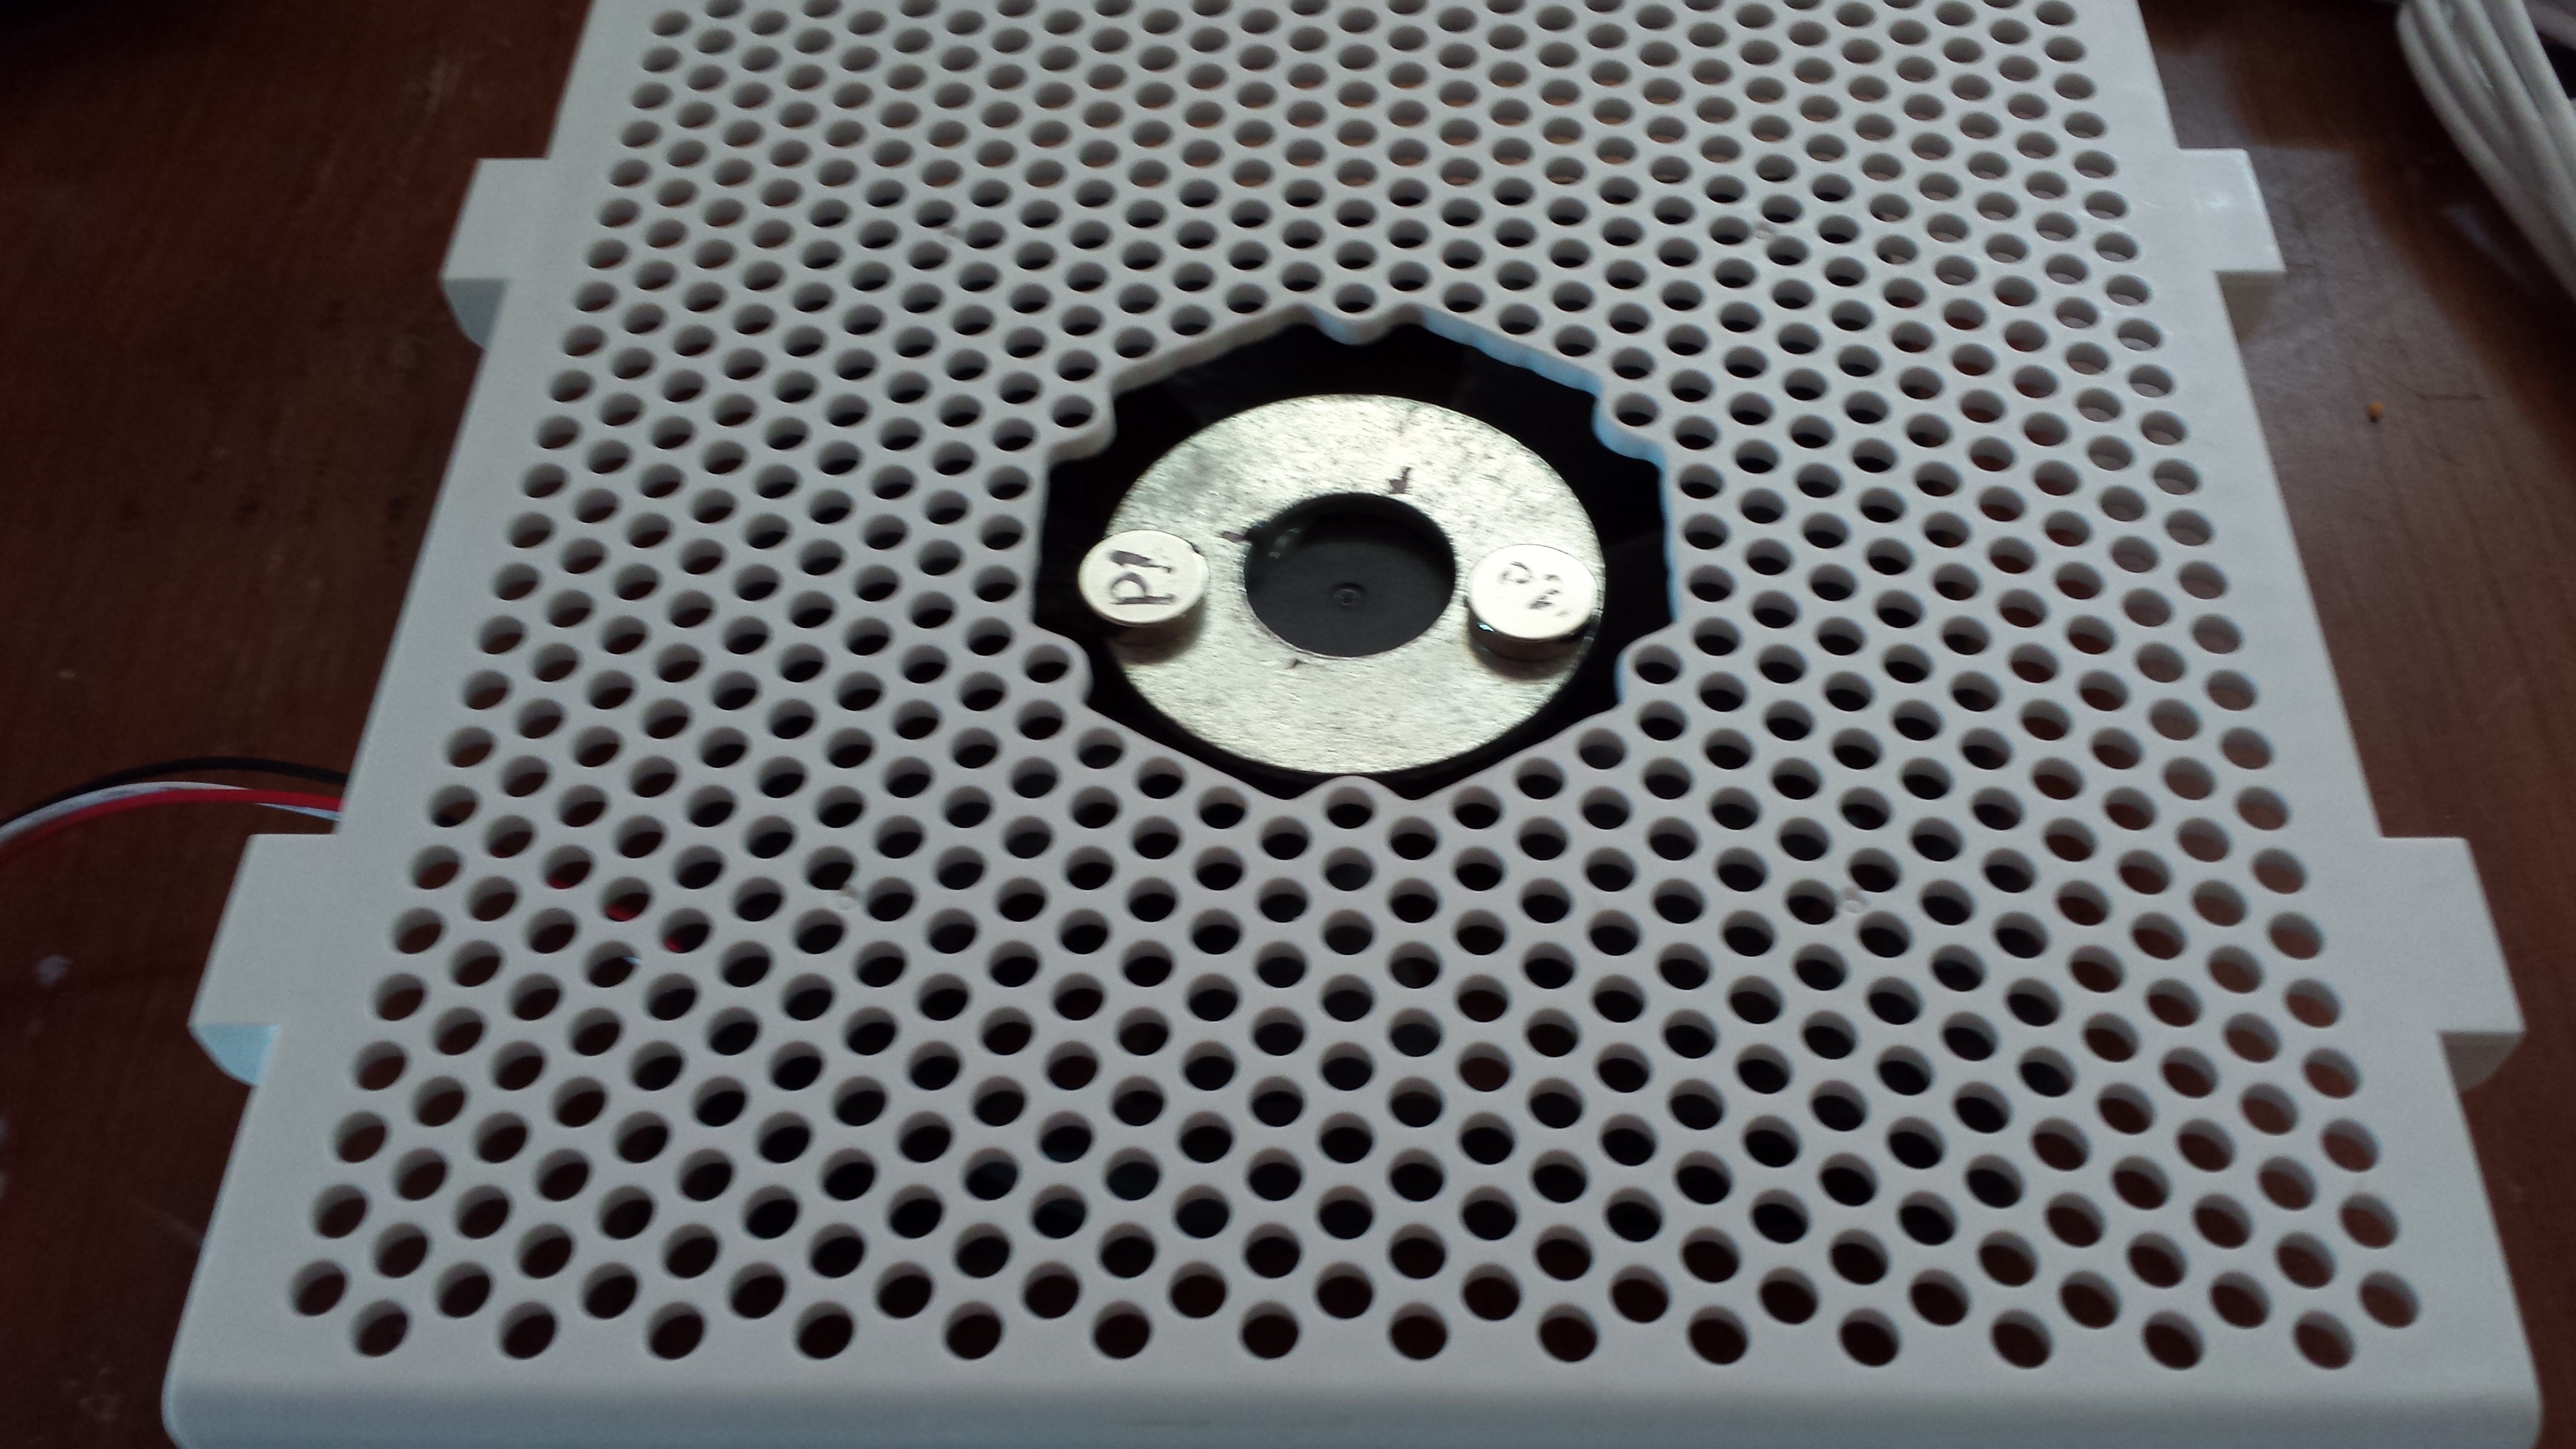
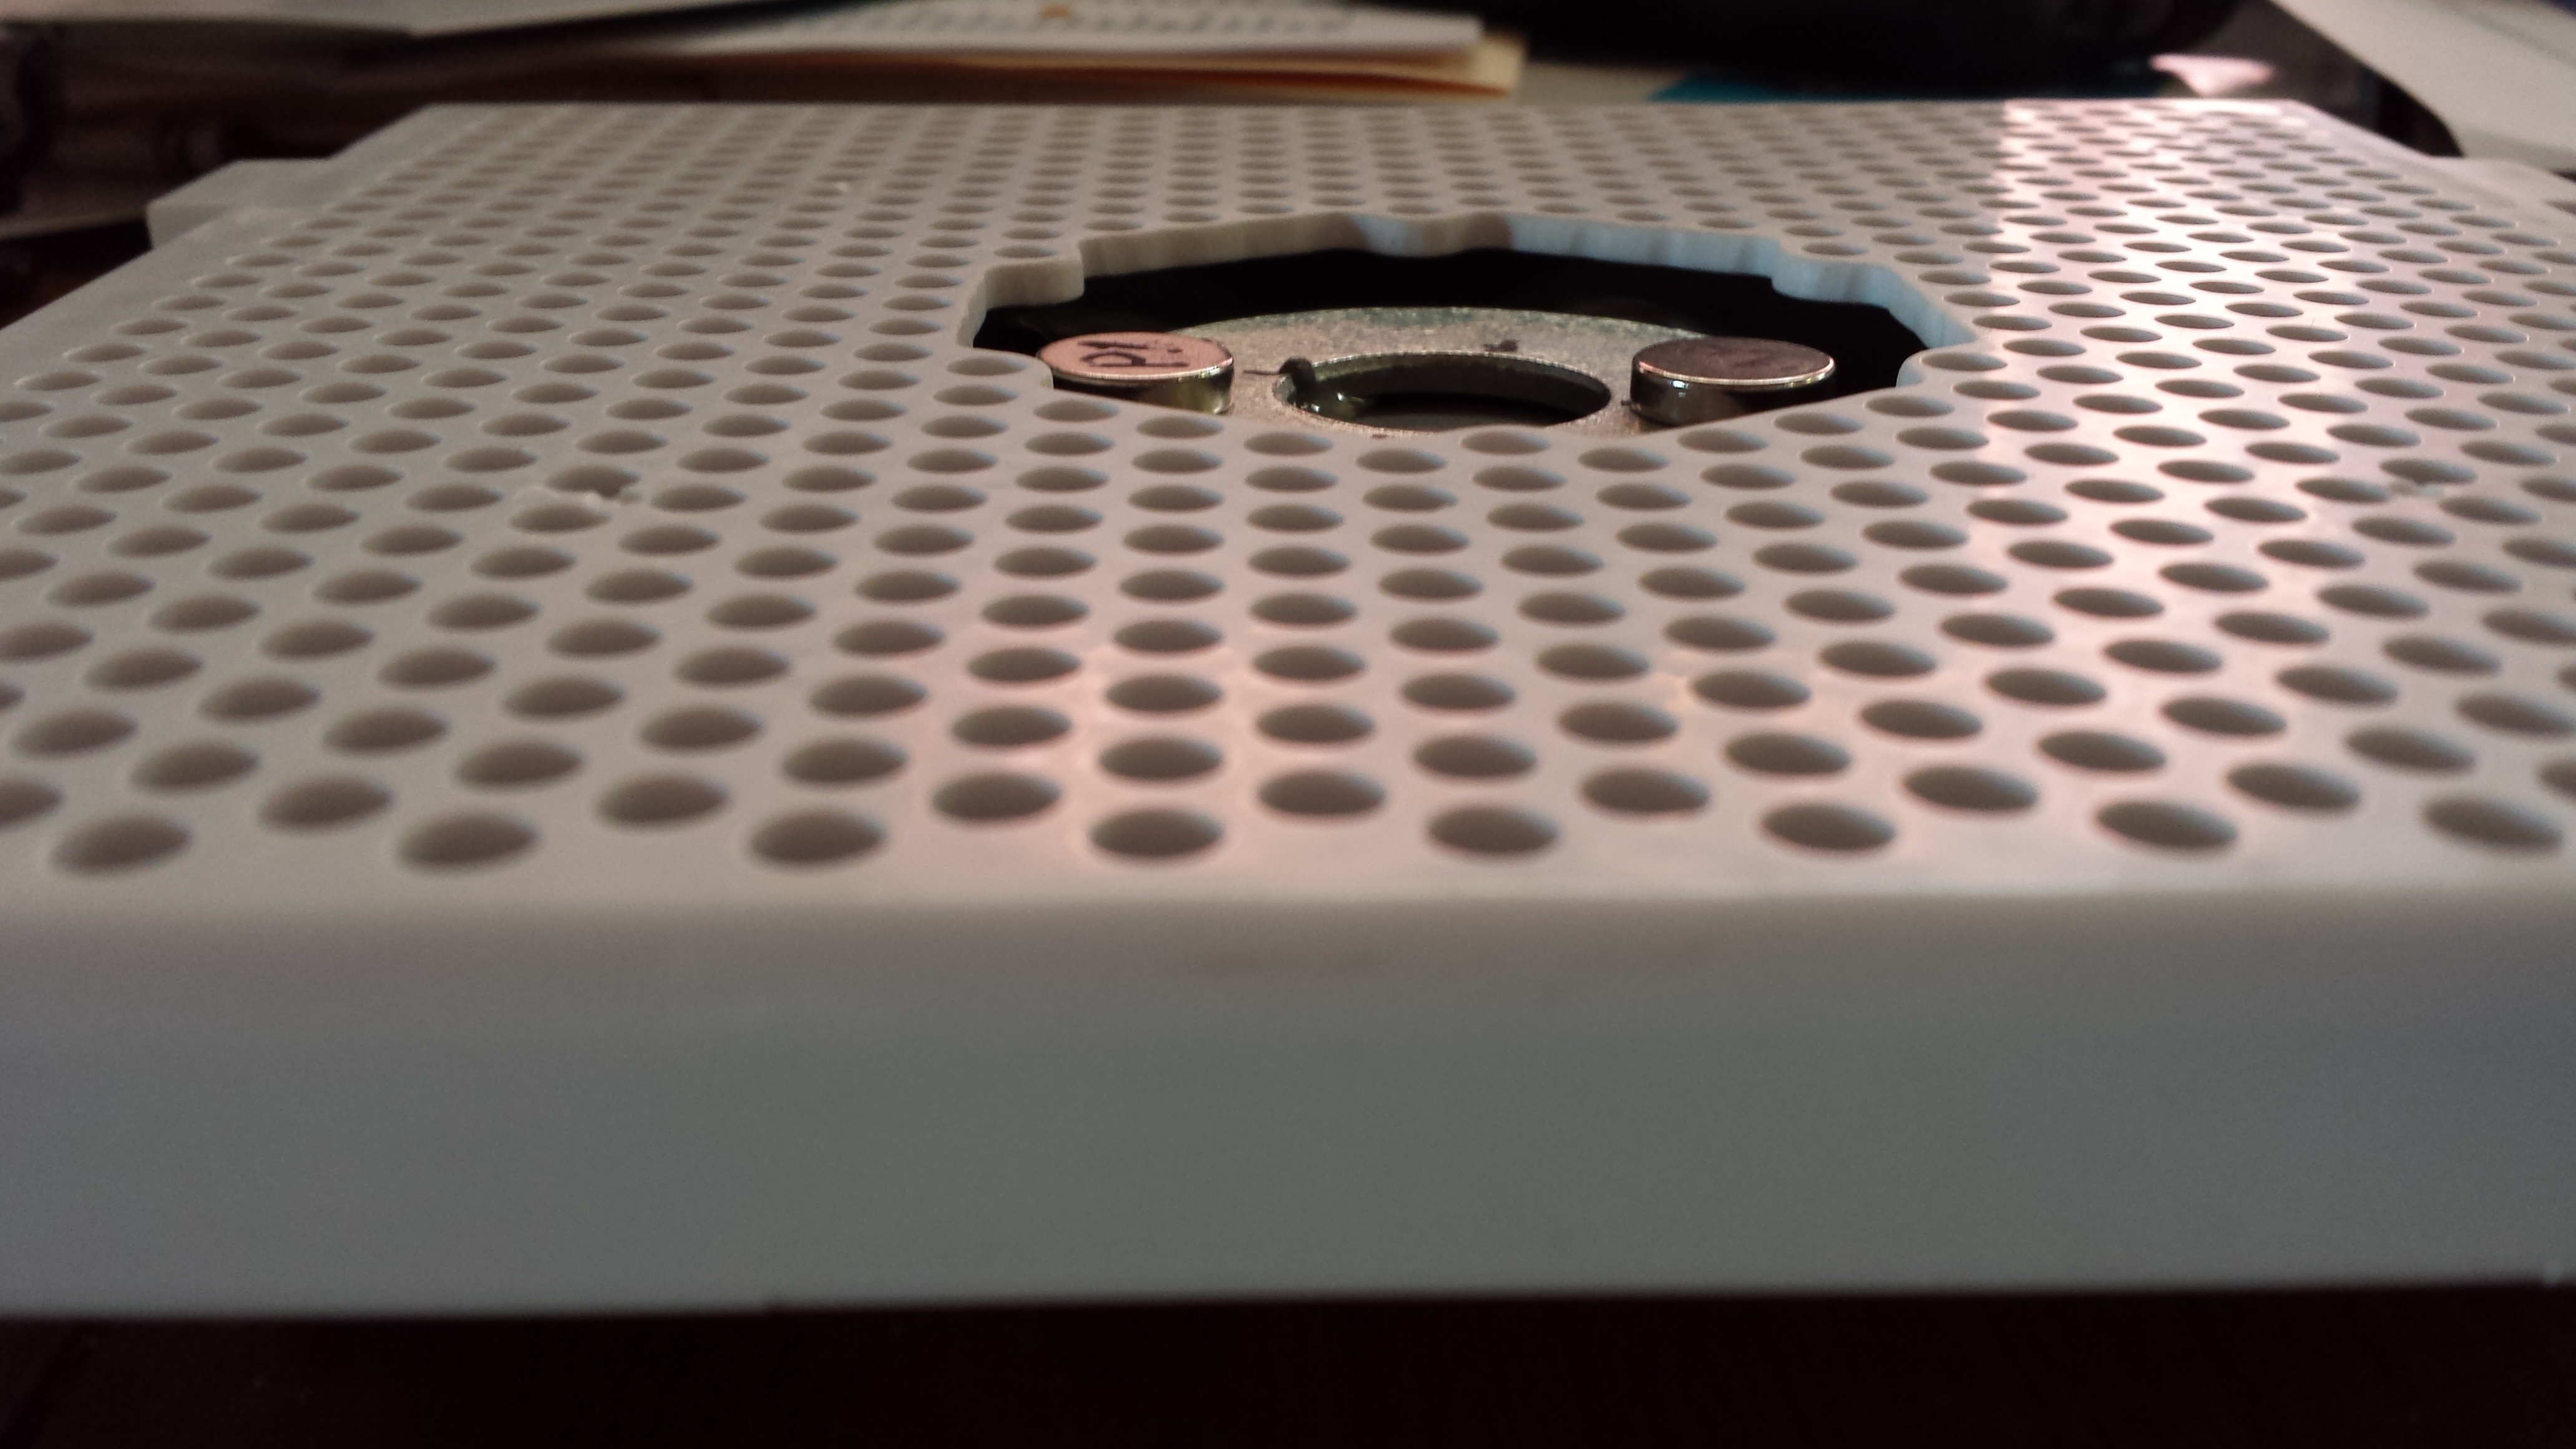
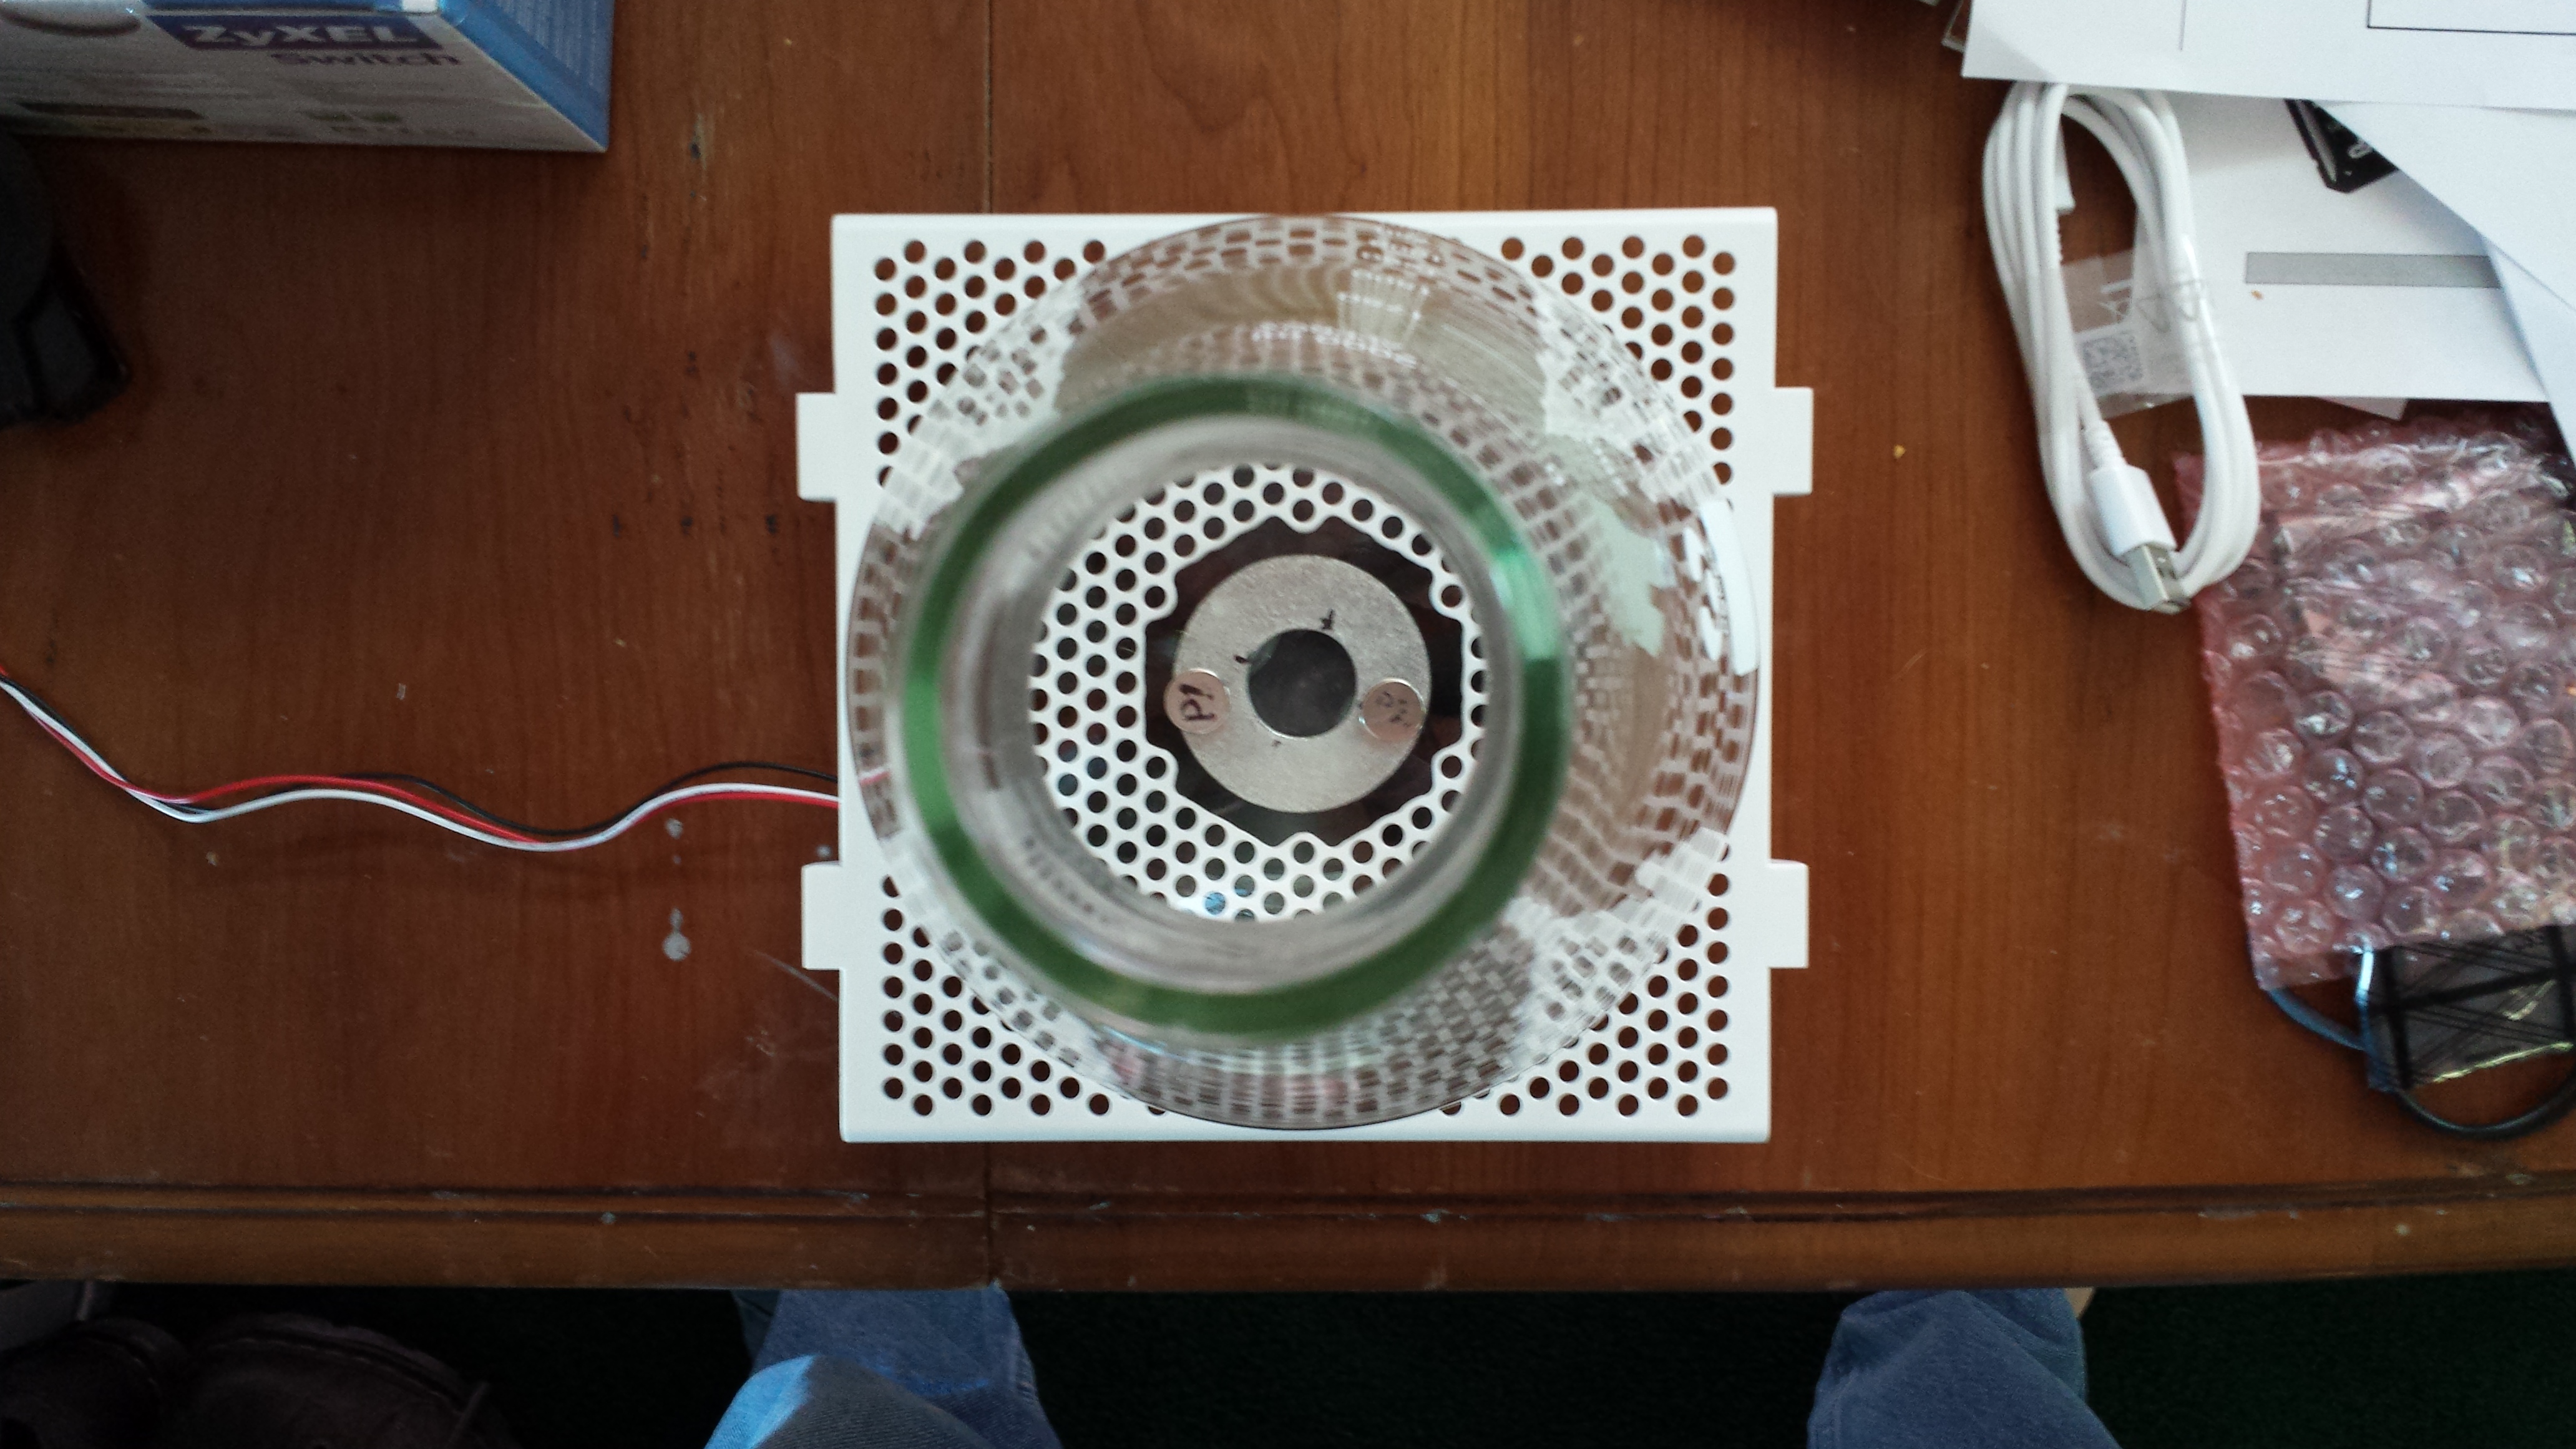
The build process is more or less as described in the original article I linked to.  I simply centered the large washer on the hub for my case fan and glued it in place with J-B Weld epoxy.  As I noted, J-B Weld does appear to actually contain some steel, so I recommend mounting the washer without having the magnets stuck to it.  Once the epoxy hardens, gently place the magnets on the washer approximately across from each other, spin the fan, and try to balance it as well as possible.  I found that you can place the stir bar across the magnets directly and it helps to visualize how well it will be centered above the fan hub, and ultimately how efficiently and quietly the stir plate will operate.

Below are a few build/post build pictures.

20140125_150610 20140125_150618 20140125_150701 20140125_150725 20140125_150910 20140125_150943

Video of initial test

November 30, 2013

Sensory Training Kit

Filed under: Links,To Buy — Tags: , — Landis V @ 1:55 am

This post is part of a collection of brewing equipment purchases describing what, where, why, and when of brew gear I believe will provide value, enjoyment, or increased efficiency in my brewing processes.

What:

Sensory training kit for recognition of most common/important flavor elements in beer

Where:

  • Siebel website
  • Beer club
  • Individual who’s working on the BJCP and is confident they have enough to share

Why:

To be able to recognize the characteristic flavors in a beer, good or bad, and to better understand their contribution and recognize them in my own beers.  Flavors include:

  • Acetaldehyde
  • Acetic
  • Almond
  • Butyric
  • Diacetyl
  • DMS (Dimethyl Sulfide)
  • Earthy
  • Mercaptan
  • Ethyl acetate
  • Ethyl hexanoate
  • Spicy
  • Metallic
  • Geraniol
  • Indole
  • Isoamyl acetate
  • Grainy
  • Isovaleric
  • Lactic
  • Caprylic
  • Papery
  • Vanilla
  • Bitter
  • Infection
  • Hefeweizen

When:

Some time after I have some experience and ten to twenty friends who also want to get a better grasp on the flavor specifics and are willing to chip in to make the purchase.

Price History:

These prices reflect bottom dollar including any known or reported applicable coupon codes.  For this particular item, my initial notes don’t show many alternatives, though there may be alternative ways to get a good approximation of some of the concentrates.

  1. 11/30/2013, Siebel website, $210.00

See Also’s:

Other purchases that come into consideration to take maximum advantage of the benefits of this item.

Kegerator/Keezer Chest Freezer

Filed under: Links,Purchases,To Buy — Tags: , — Landis V @ 1:27 am

This post is part of a collection of brewing equipment purchases describing what, where, why, and when of brew gear I believe will provide value, enjoyment, or increased efficiency in my brewing processes.

What:

Kenmore 8.8 cu ft chest freezer – Model 16949 (black, preferred) or 16942 (white)

Where:

  • Kmart (white or black); regular price $299.99 ($319.99 black), seen with some regularity for sale at $229.99 and can be had for $204.99 with in-store pickup using code 25OFF125.
  • Sears (white or black); regular price $411.99.

Why:

This keg layout diagram indicating six to seven ball lock/pin lock kegs plus a CO2 tank (with a 7″ collar), in combination with the small footprint that fits neatly in the space between my foyer, living room, and kitchen.  I’m sure there are some other models that offer similarly good layouts but I haven’t run across them yet.  Black is preferred because it’s a good aesthetic fit with the rest of my appliances, though it’s possible I will build a facade for it in any case.  I like Kenmore, and the value for the space is hard to beat at the right price.

When:

I’m not very likely to just drop $200 without a game plan, so I need a good reason and an achieved savings goal or a windfall before this one becomes likely.  Reason is simple to come up with for this one, though it does require some follow-through on my part:  the potential for low-cost/barter use of half a dozen or more kegs.  There’s not an immediate urgency, though; while it would be nice to have a half a dozen varieties on tap, I could get by with one or two on a picnic tap in my spare refrigerator while I save my pennies.  Not to mention the time and additional expense to fully outfit the box with a collar, thermostat, CO2 manifold, lines, faucets, and all manner of accouterments.  That said, if that historic low price comes around again, I might be able to put a deep freeze to use in the interim.

Update:  This went on sale at $229.99 on 12/24/2013, and I was able to use a coupon code for an additional $25 off that price, plus will get back around $7 in KMart/Sears reward points and 5% on my credit card promotion.

Price History:

These prices reflect bottom dollar including any known or reported applicable coupon codes.

  1. 11/28/2013, Kmart, $249.99
  2. 11/17/2013, Kmart, $204.99 ($229.99 plus coupon)
  3. 11/7/2013, Kmart, $204.99 ($229.99 plus coupon)
  4. 8/26/2013, Kmart, $206.99 ($229.99 plus coupon)
  5. 7/15/2013, Kmart, $204.99 ($229.99 plus coupon)
  6. 12/23/2013, Kmart, $204.99 ($229.99 plus coupon) – purchased!

See Also’s:

Other purchases that come into consideration to take maximum advantage of the benefits of this item.

Powered by WordPress