DIY Stir Plate Build
I recently posted a link to a DIY stir plate build and needed to get started on my own list to keep track of supplies I have, supplies I need, and where I’m at in that task. (Note: As of 2/5, I completed this mostly with equipment I had on hand.)
Part List
List of parts and prices for the build.
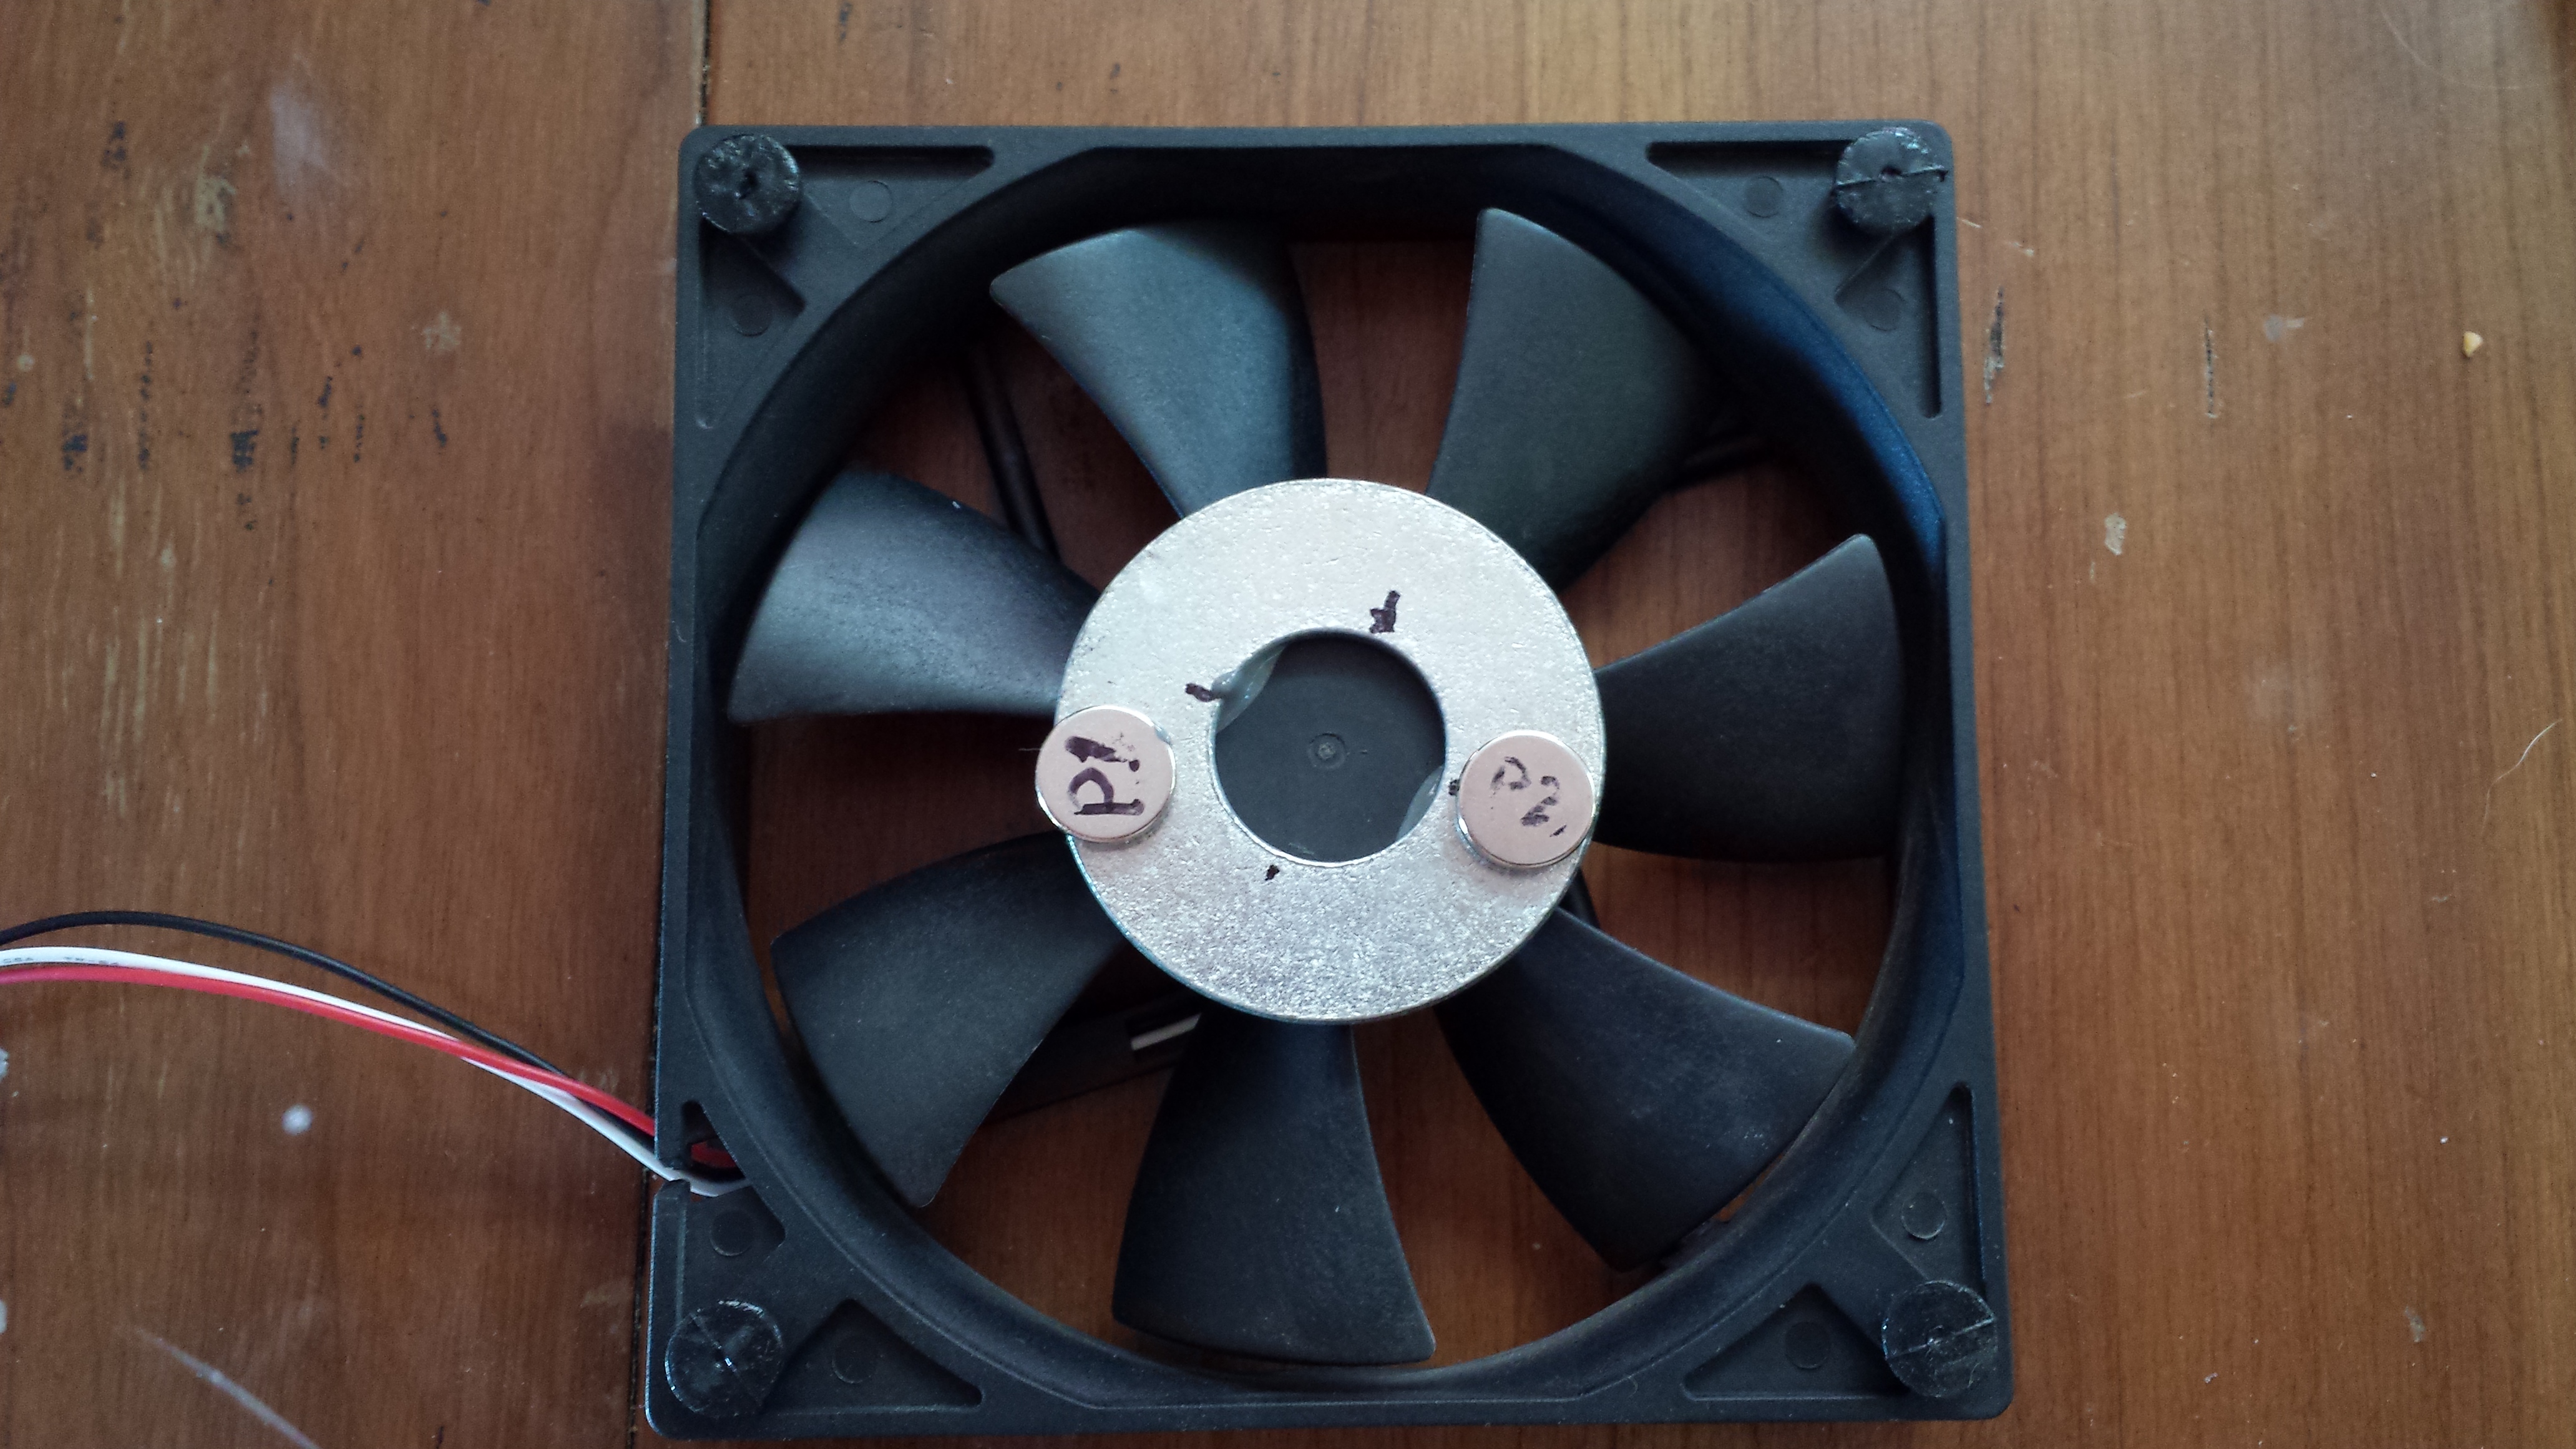
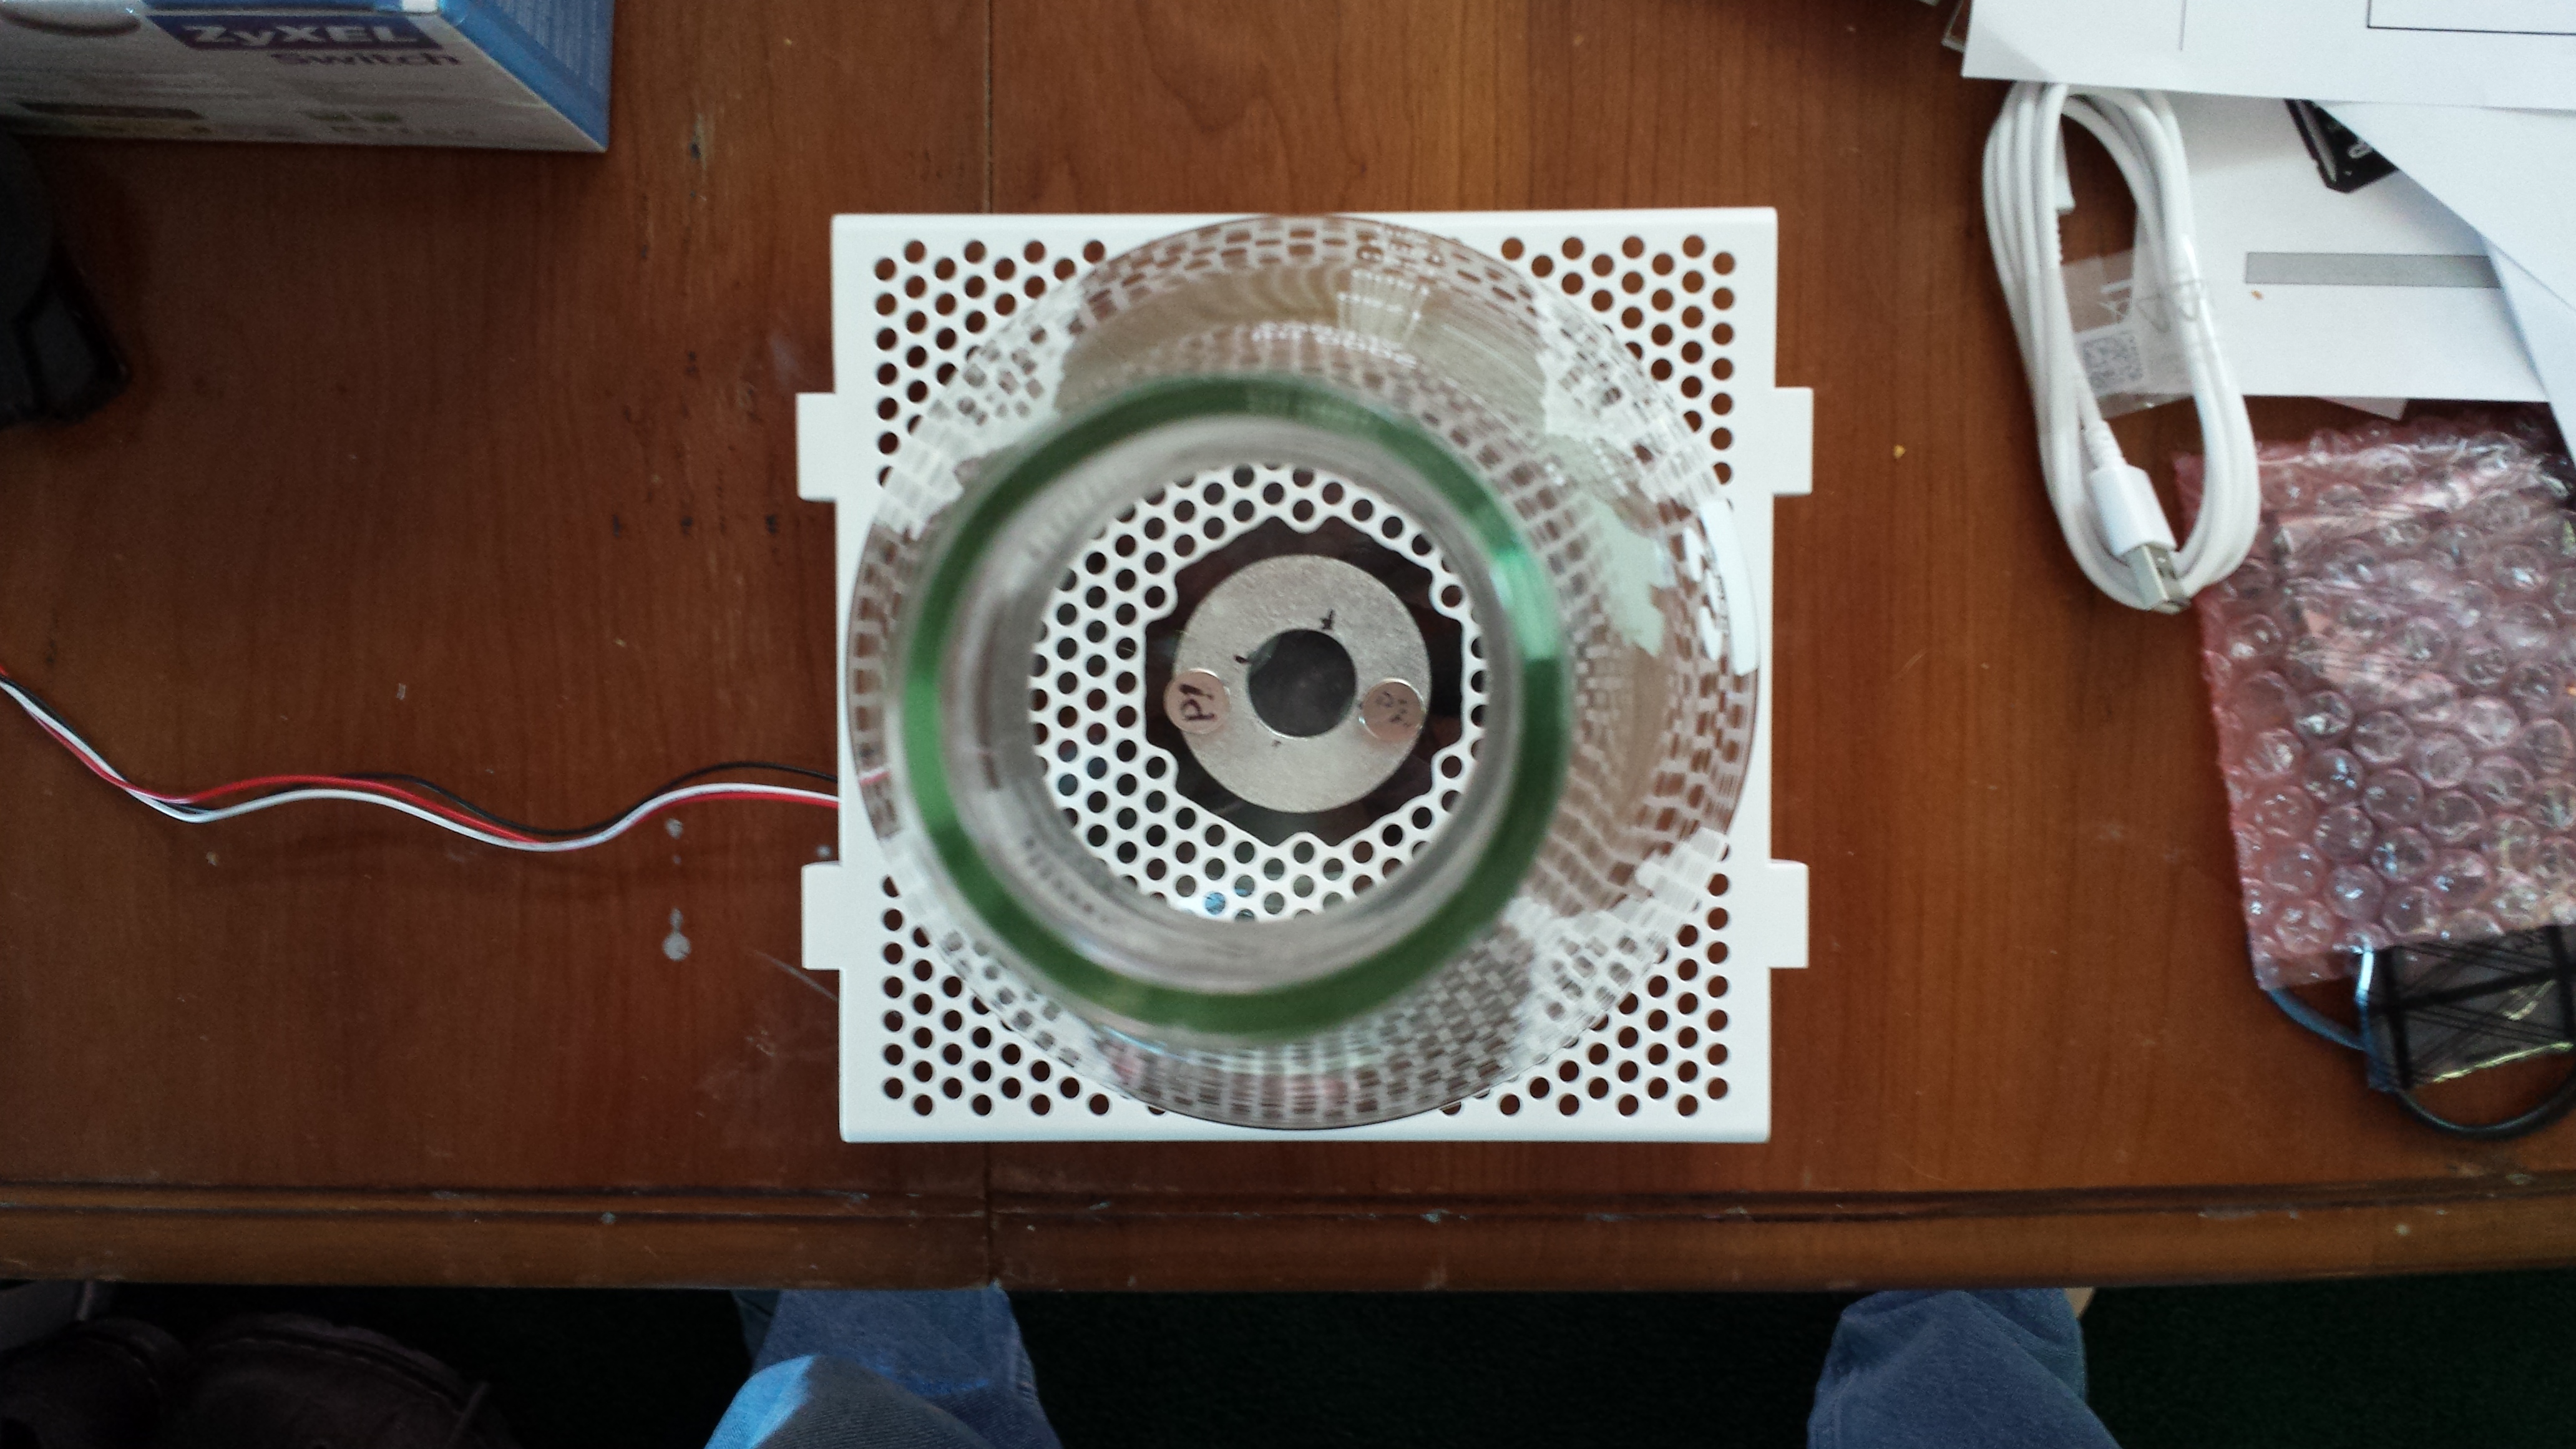
- 120mm Computer case fan
- Had on hand, typically available for <$5 if you look (techbargains.com, slickdeals.net)
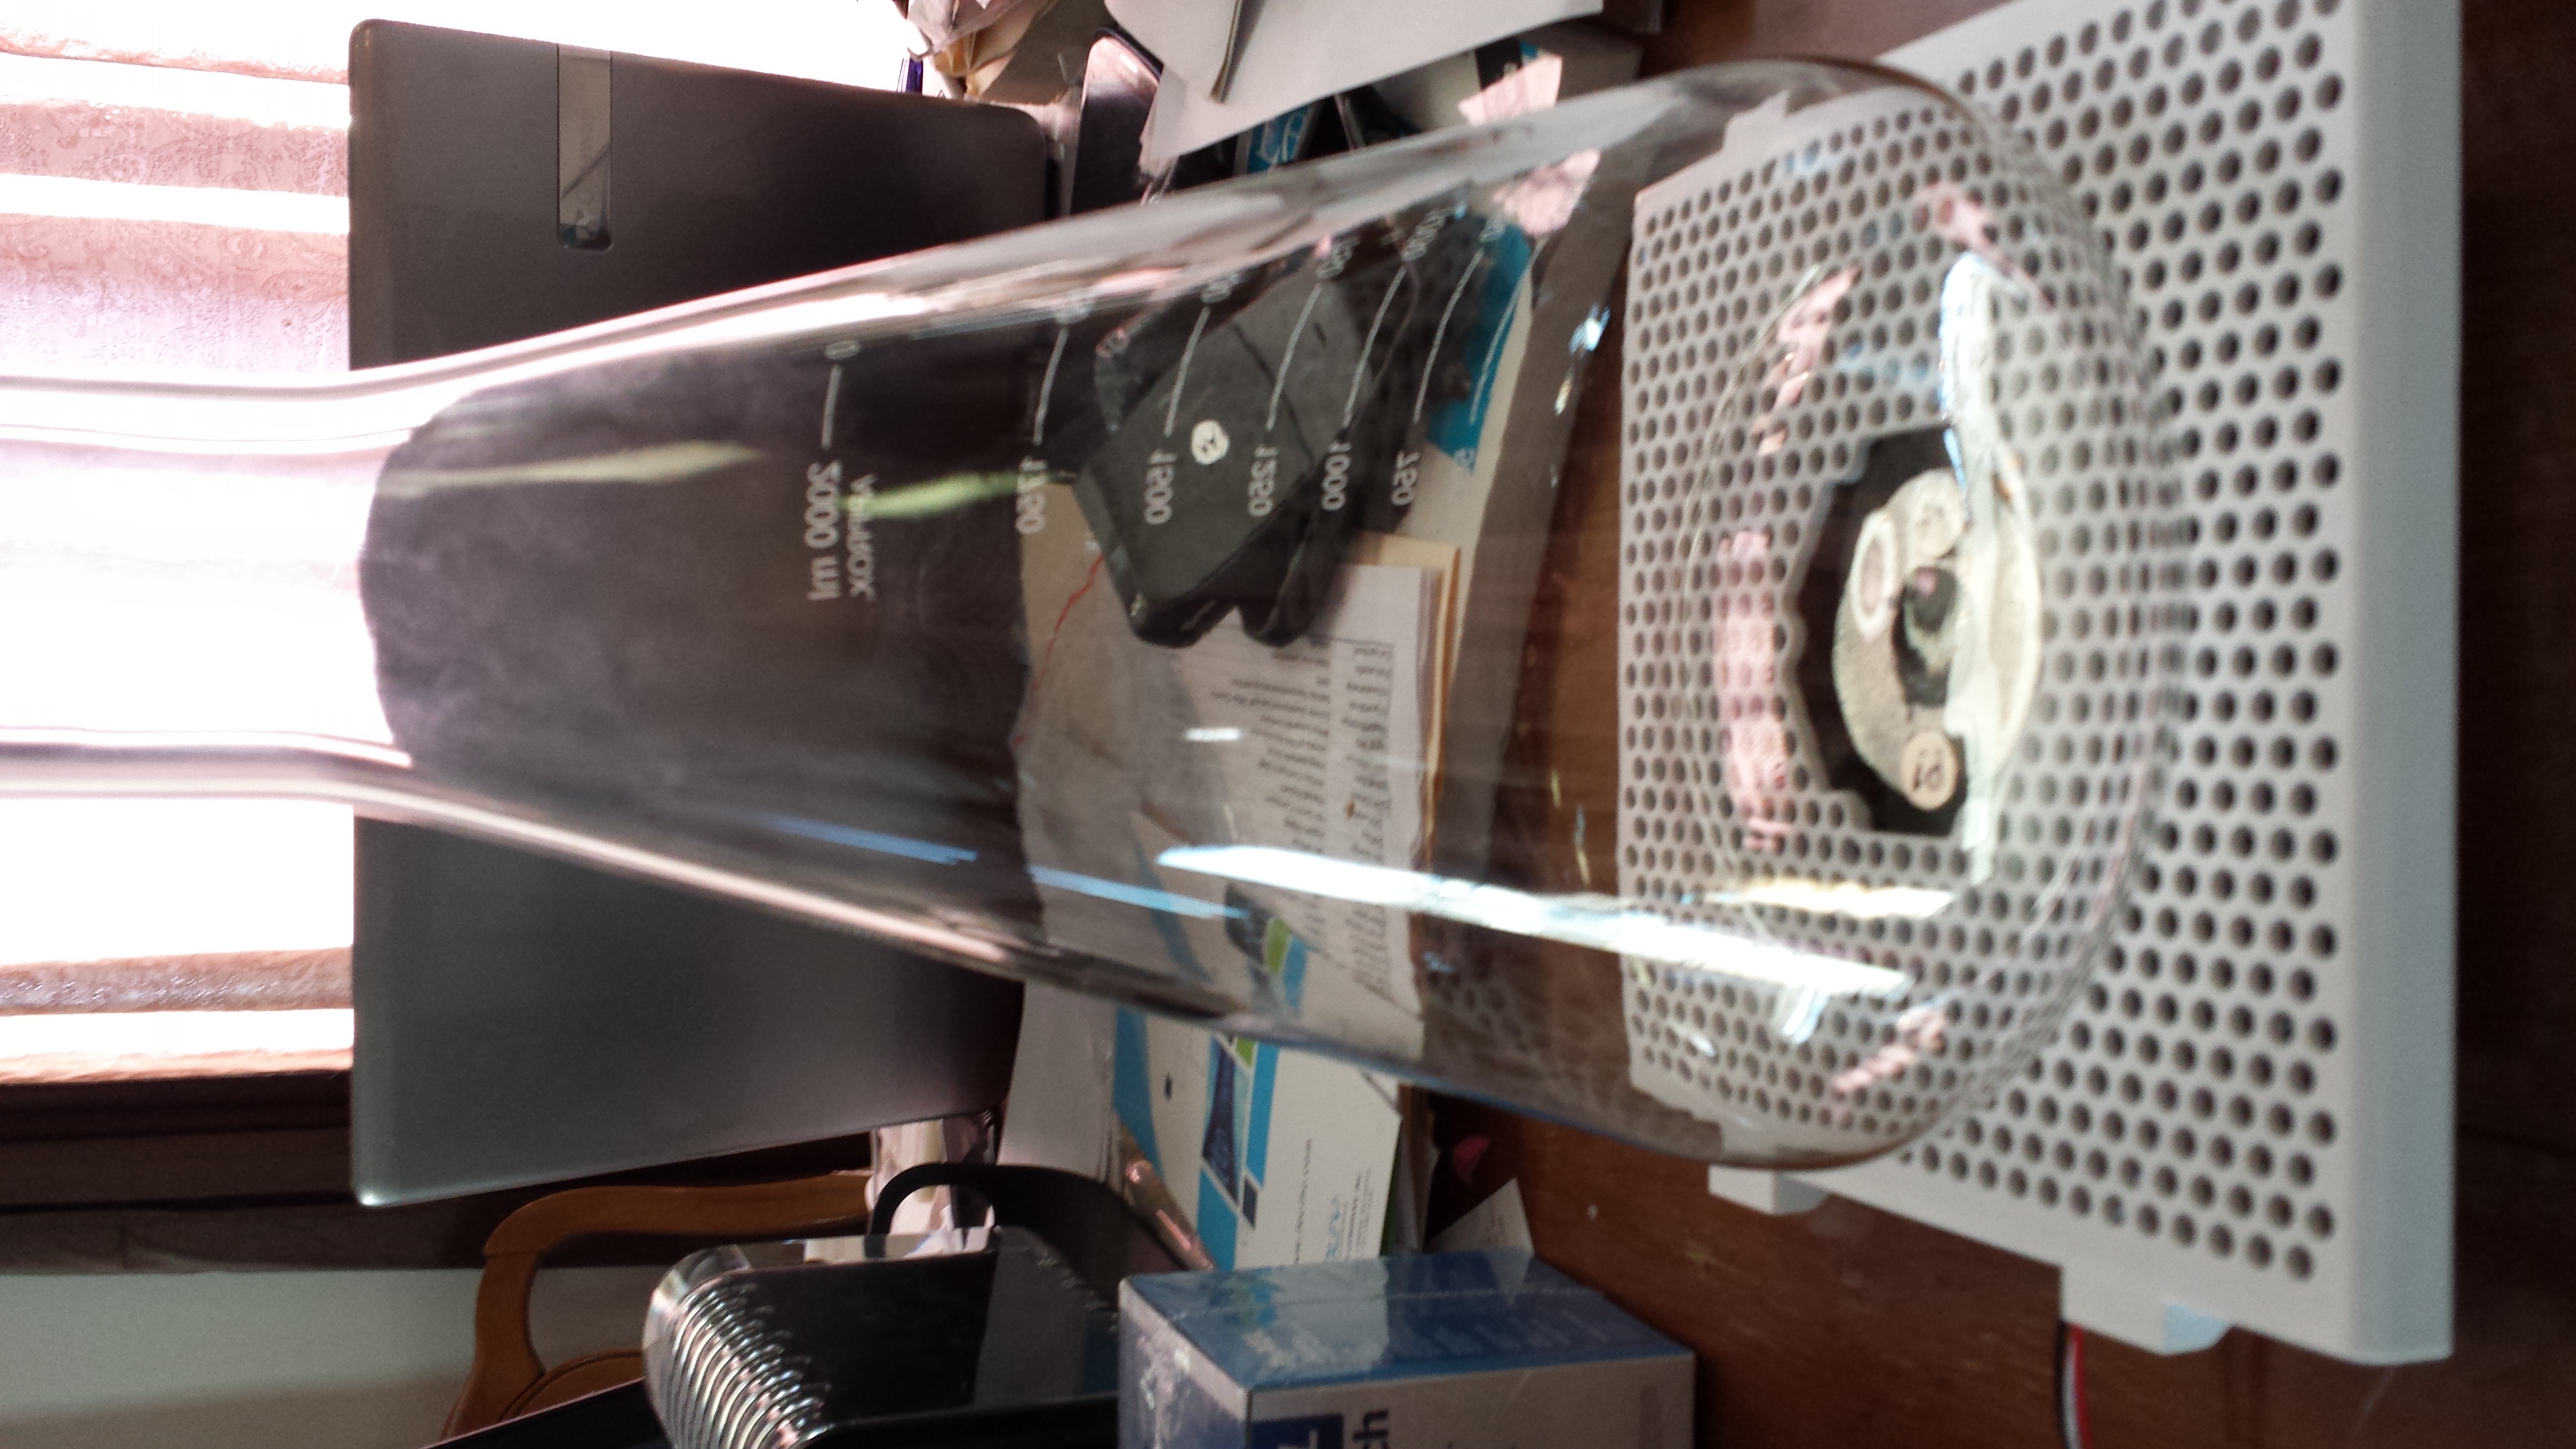
- Erlenmeyer 2000ml flask
- (Purchased) Amazon $14.25 (10-Jan-14)
- Epoxy
- JB Weld, had on hand, Menards $4.67/Amazon $6.64/Wal Mart $4.67
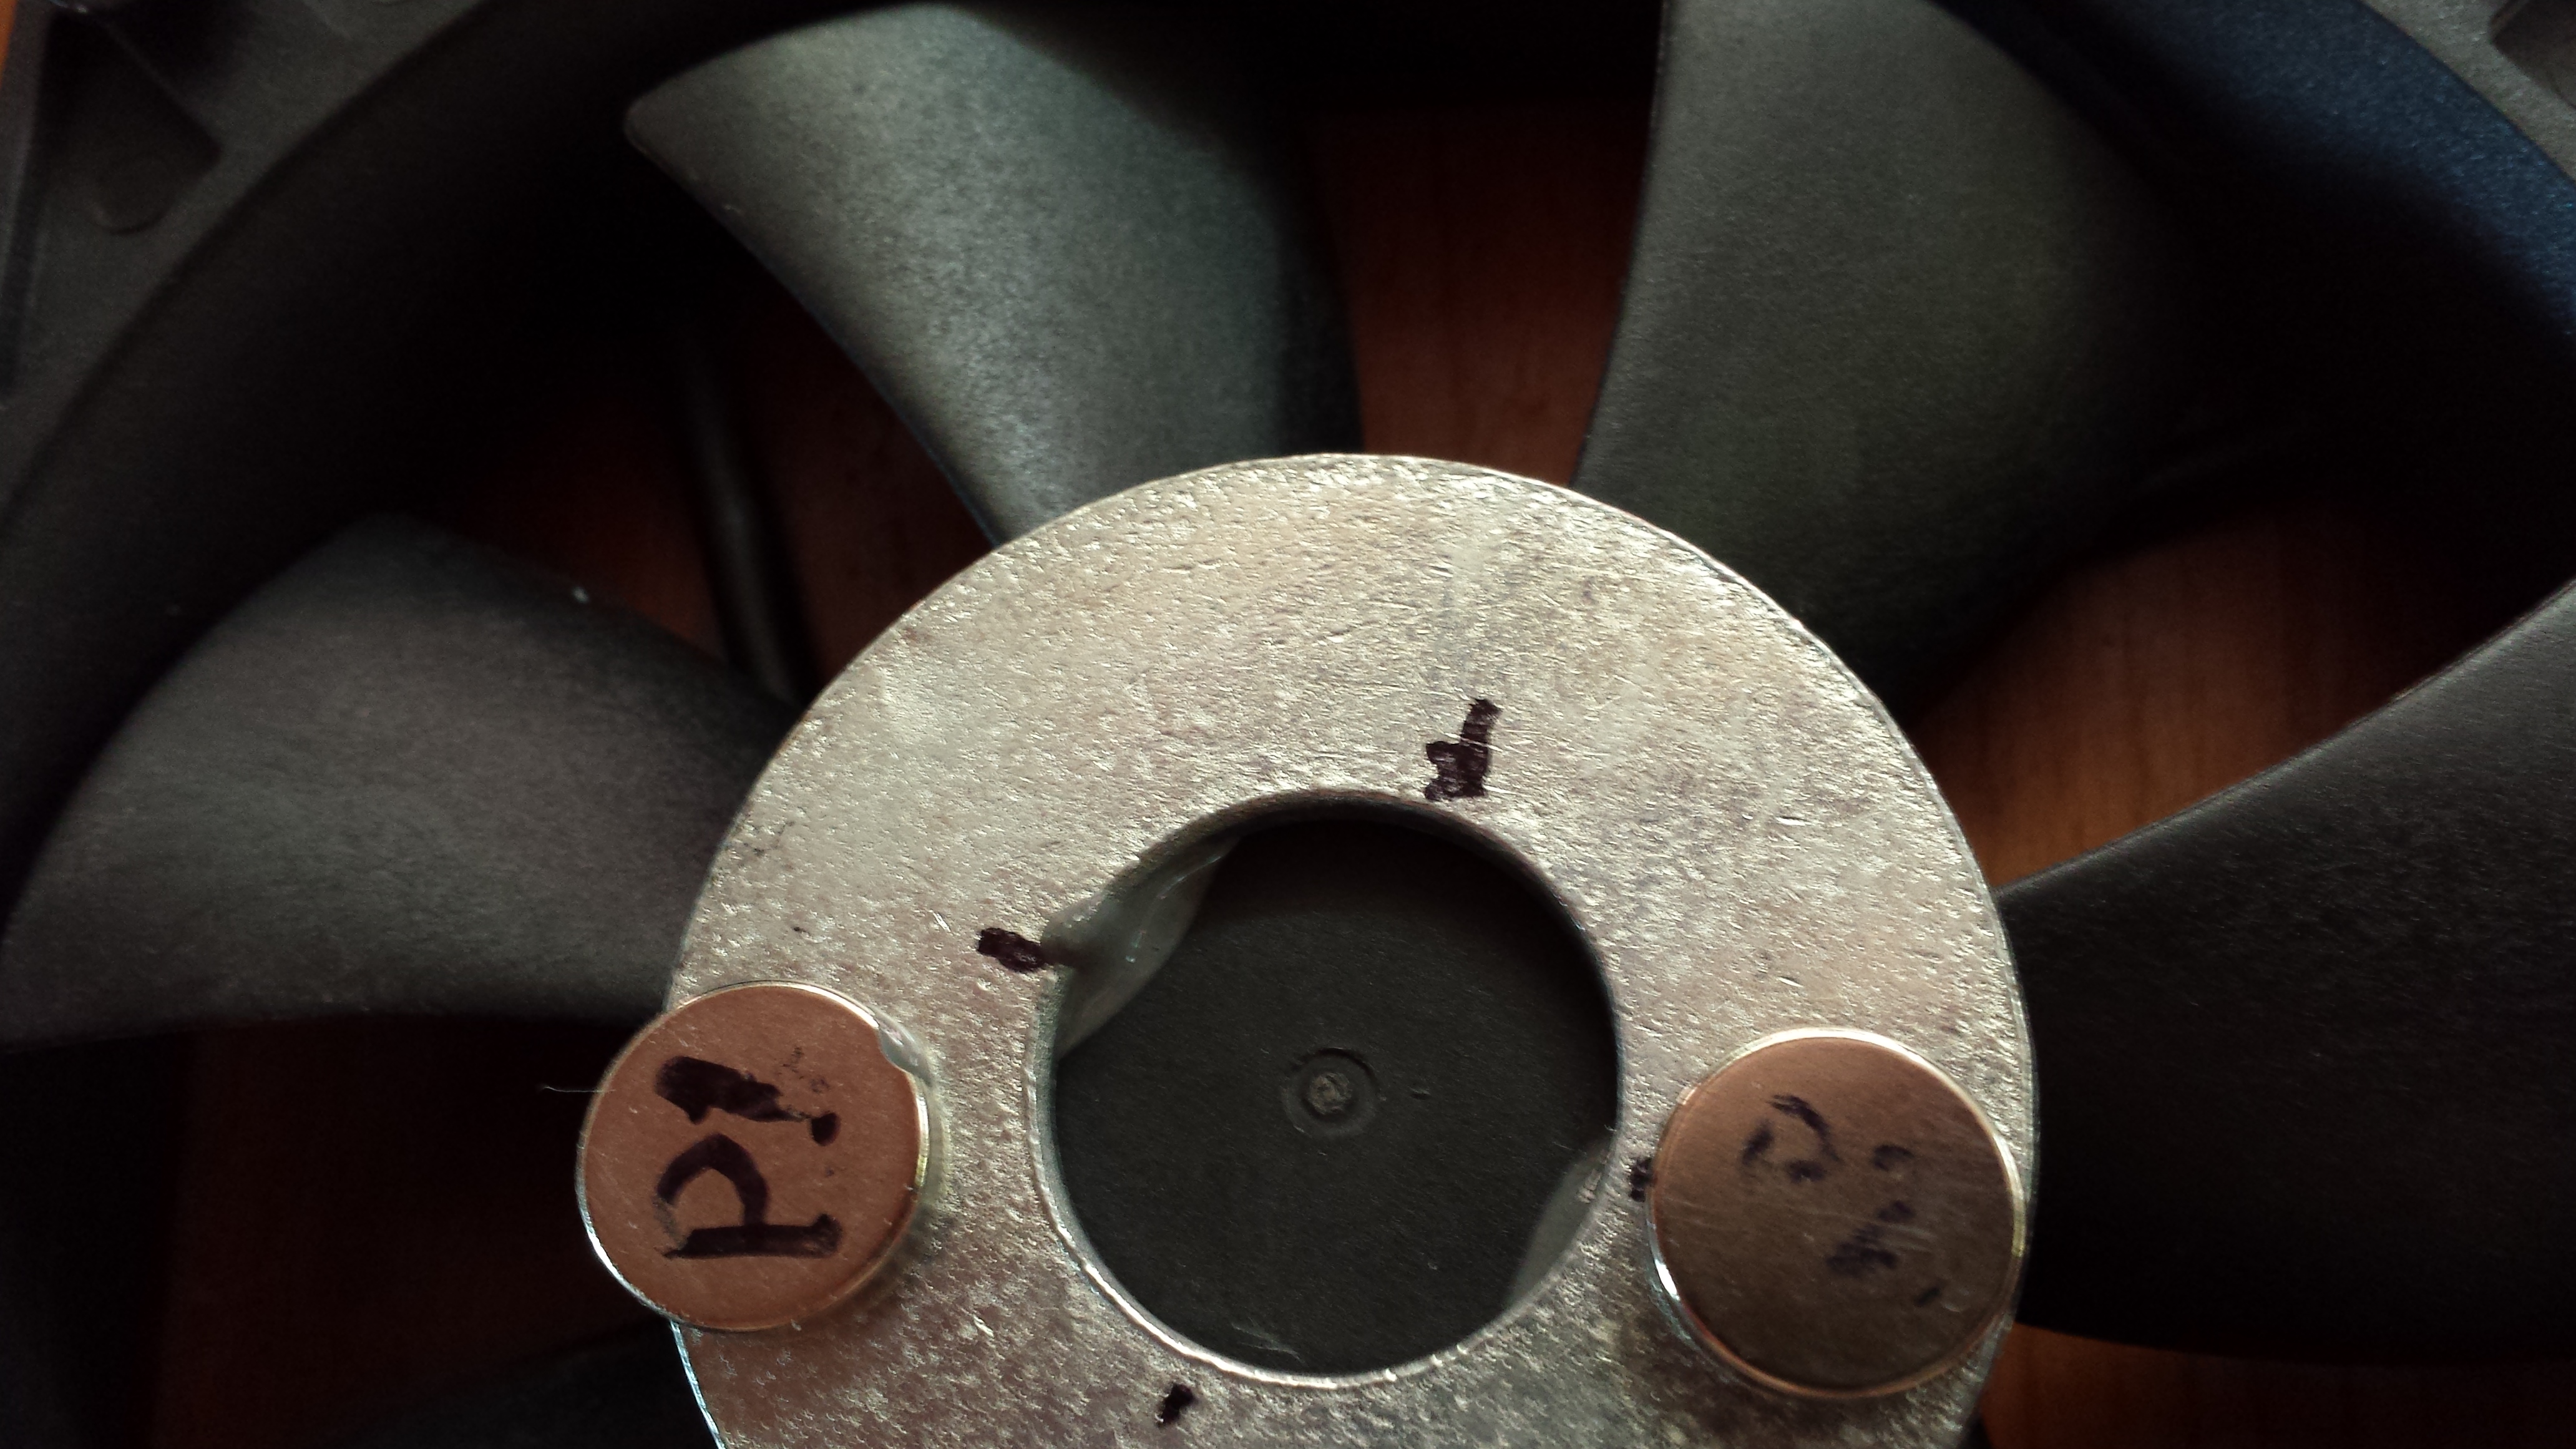
- I was surprised to discover that this stuff apparently does actually contain steel. While affixing the washer to my fan, I observed a small finger of the blended epoxy creeping out from under the washer and towards my magnet. I’d suggest marking the position of your magnet(s) and centering based on your marks, and not attempting to assemble with the magnets in place. Otherwise, you may find them epoxied in place!
- JB Weld, had on hand, Menards $4.67/Amazon $6.64/Wal Mart $4.67
- Misc hardware (nuts/bolts/washers for table attachment/standoff)
- Had on hand. Used rubber anti-vibration pads that came with the case fan I replaced with the one I had on hand. I just set the table on top of the fan on the side with the rubber pads protruding and approximately center it.
- Neodymium/rare earth magnets
- (Purchased) Amazon Qty 10 1/2″ x 1/8″ disc $7.89 (10-Jan-14)
- Stir bars
- CHI
- 1″ (500ml to 2000ml containers) $4.25 (25-Jan-14)
- 1.6″ (recommended for 1000ml to 1 gallon) $5.00 (25-Jan-14)
- (Purchased 26-Jan-14) 2″ (recommended for 1-2gal containers) $6.65 (25-Jan-14)
- CHI
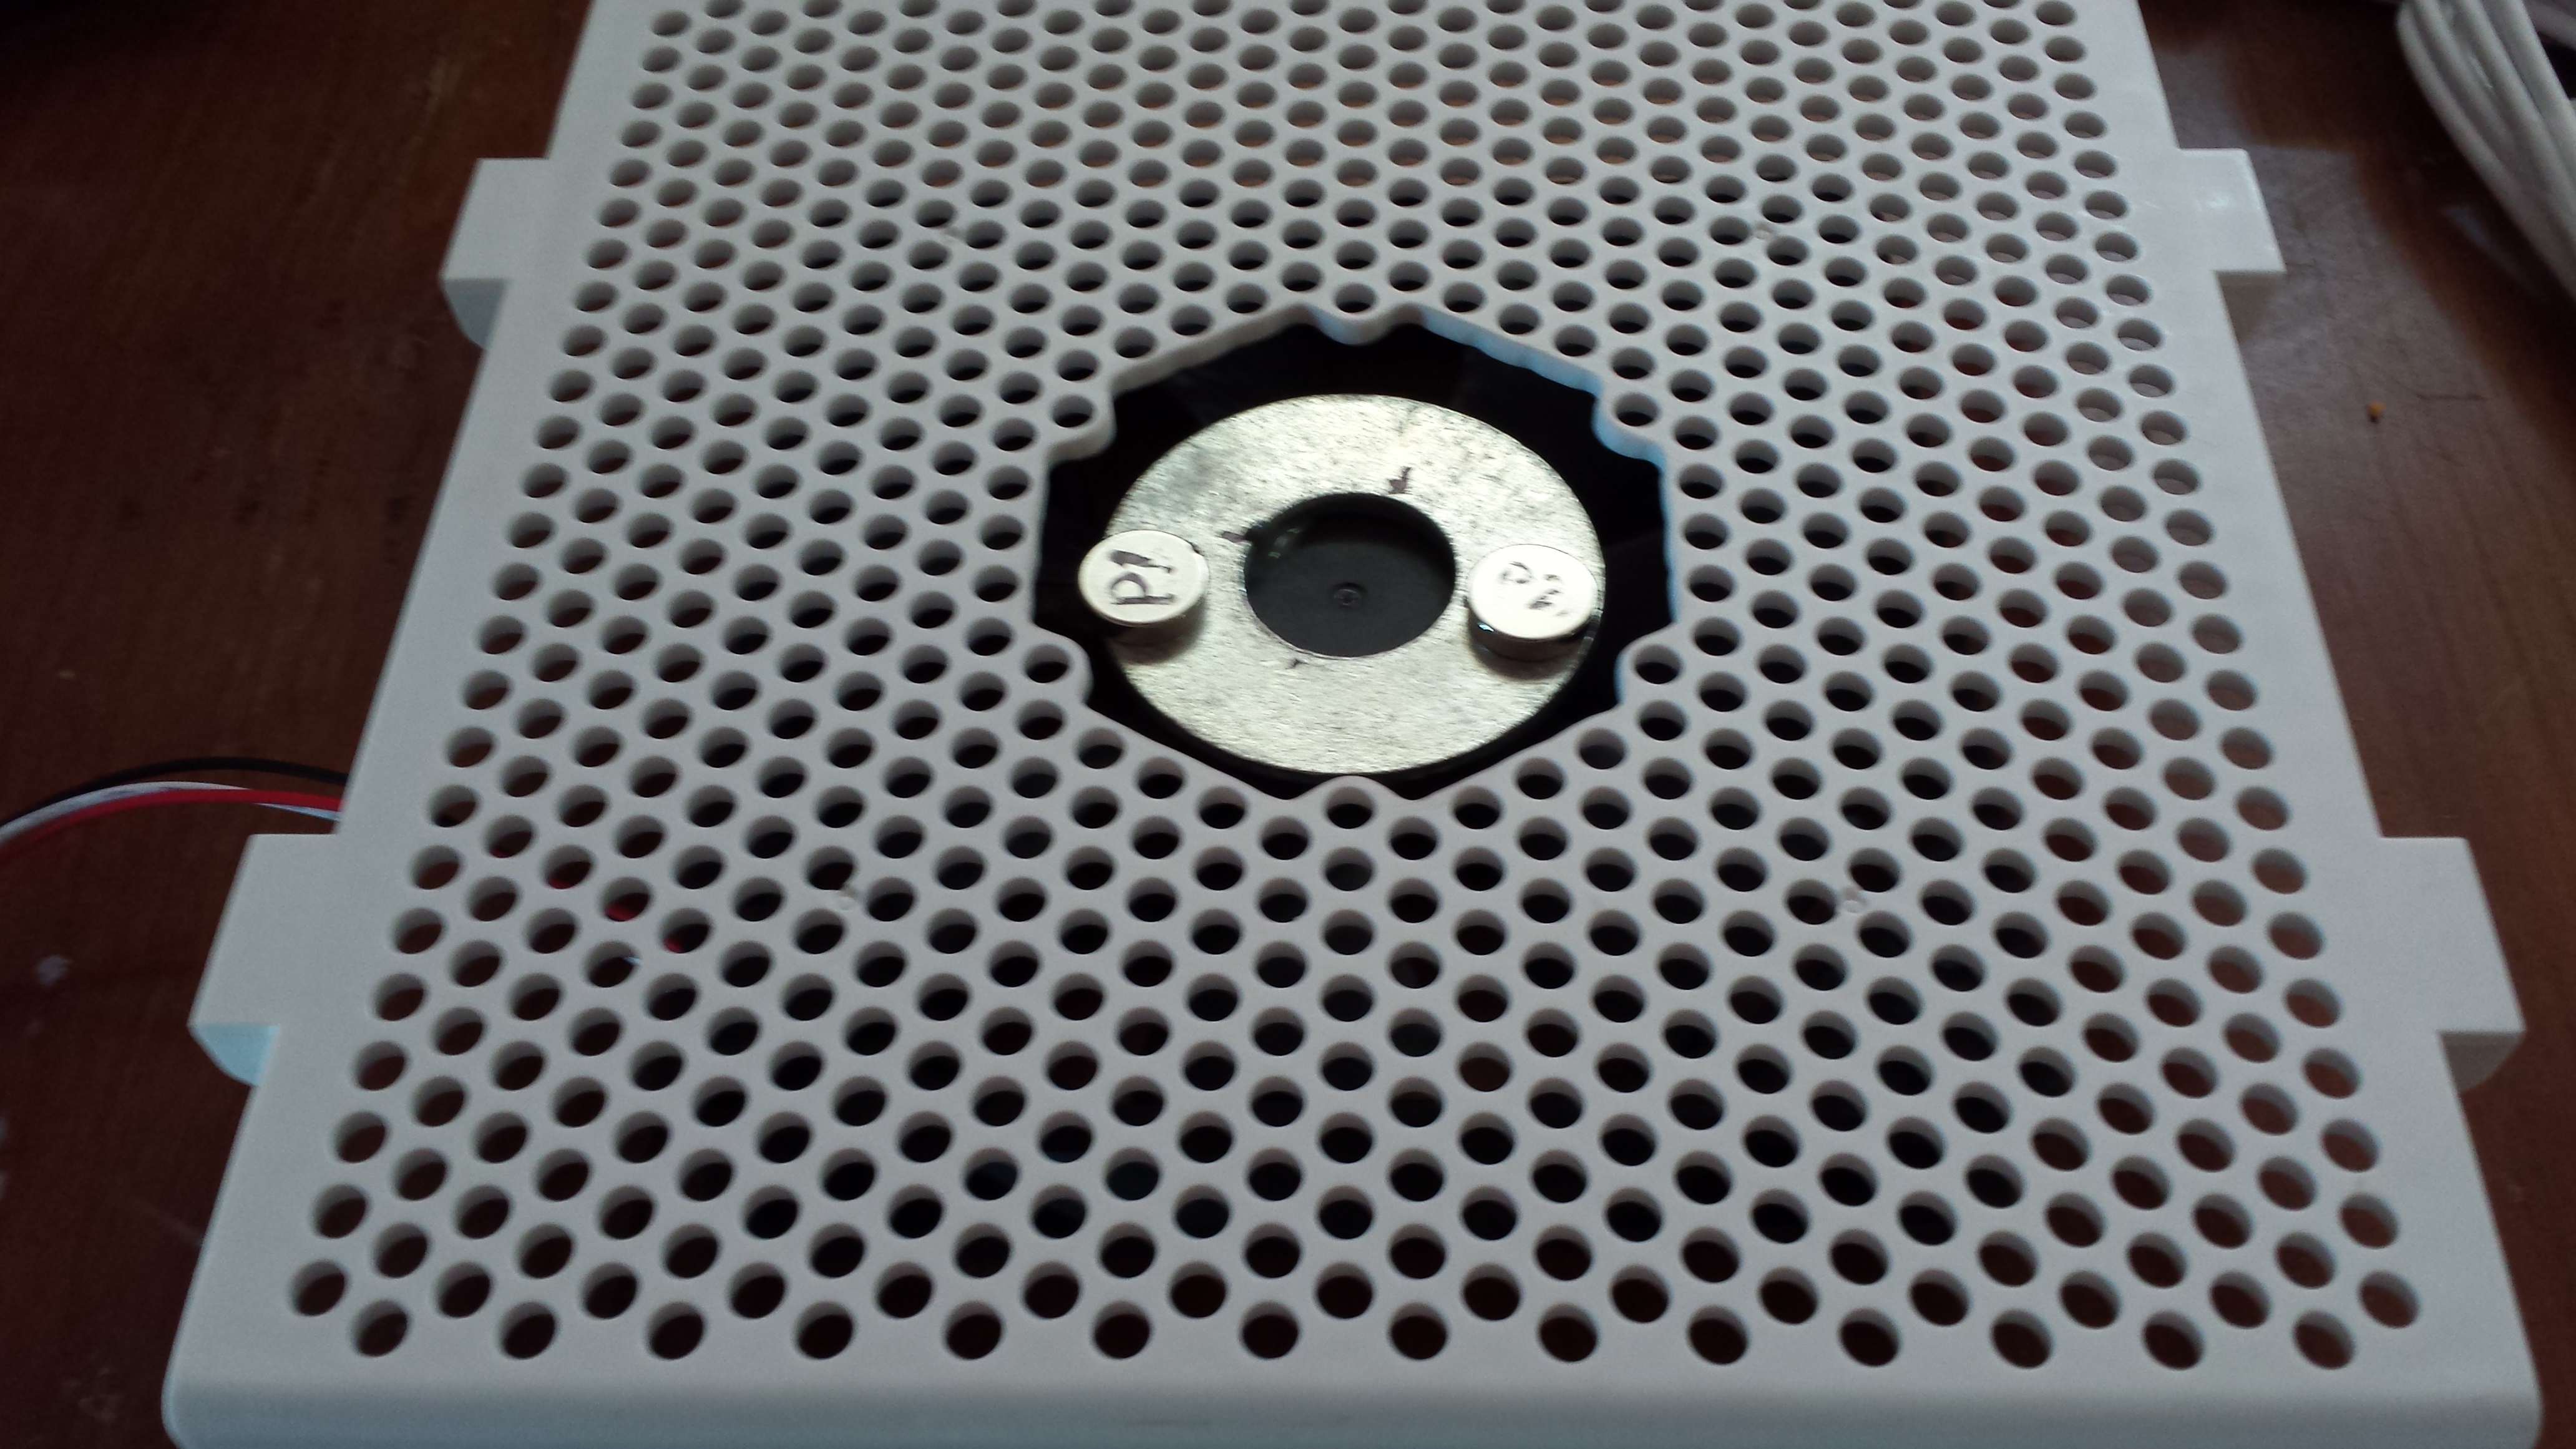
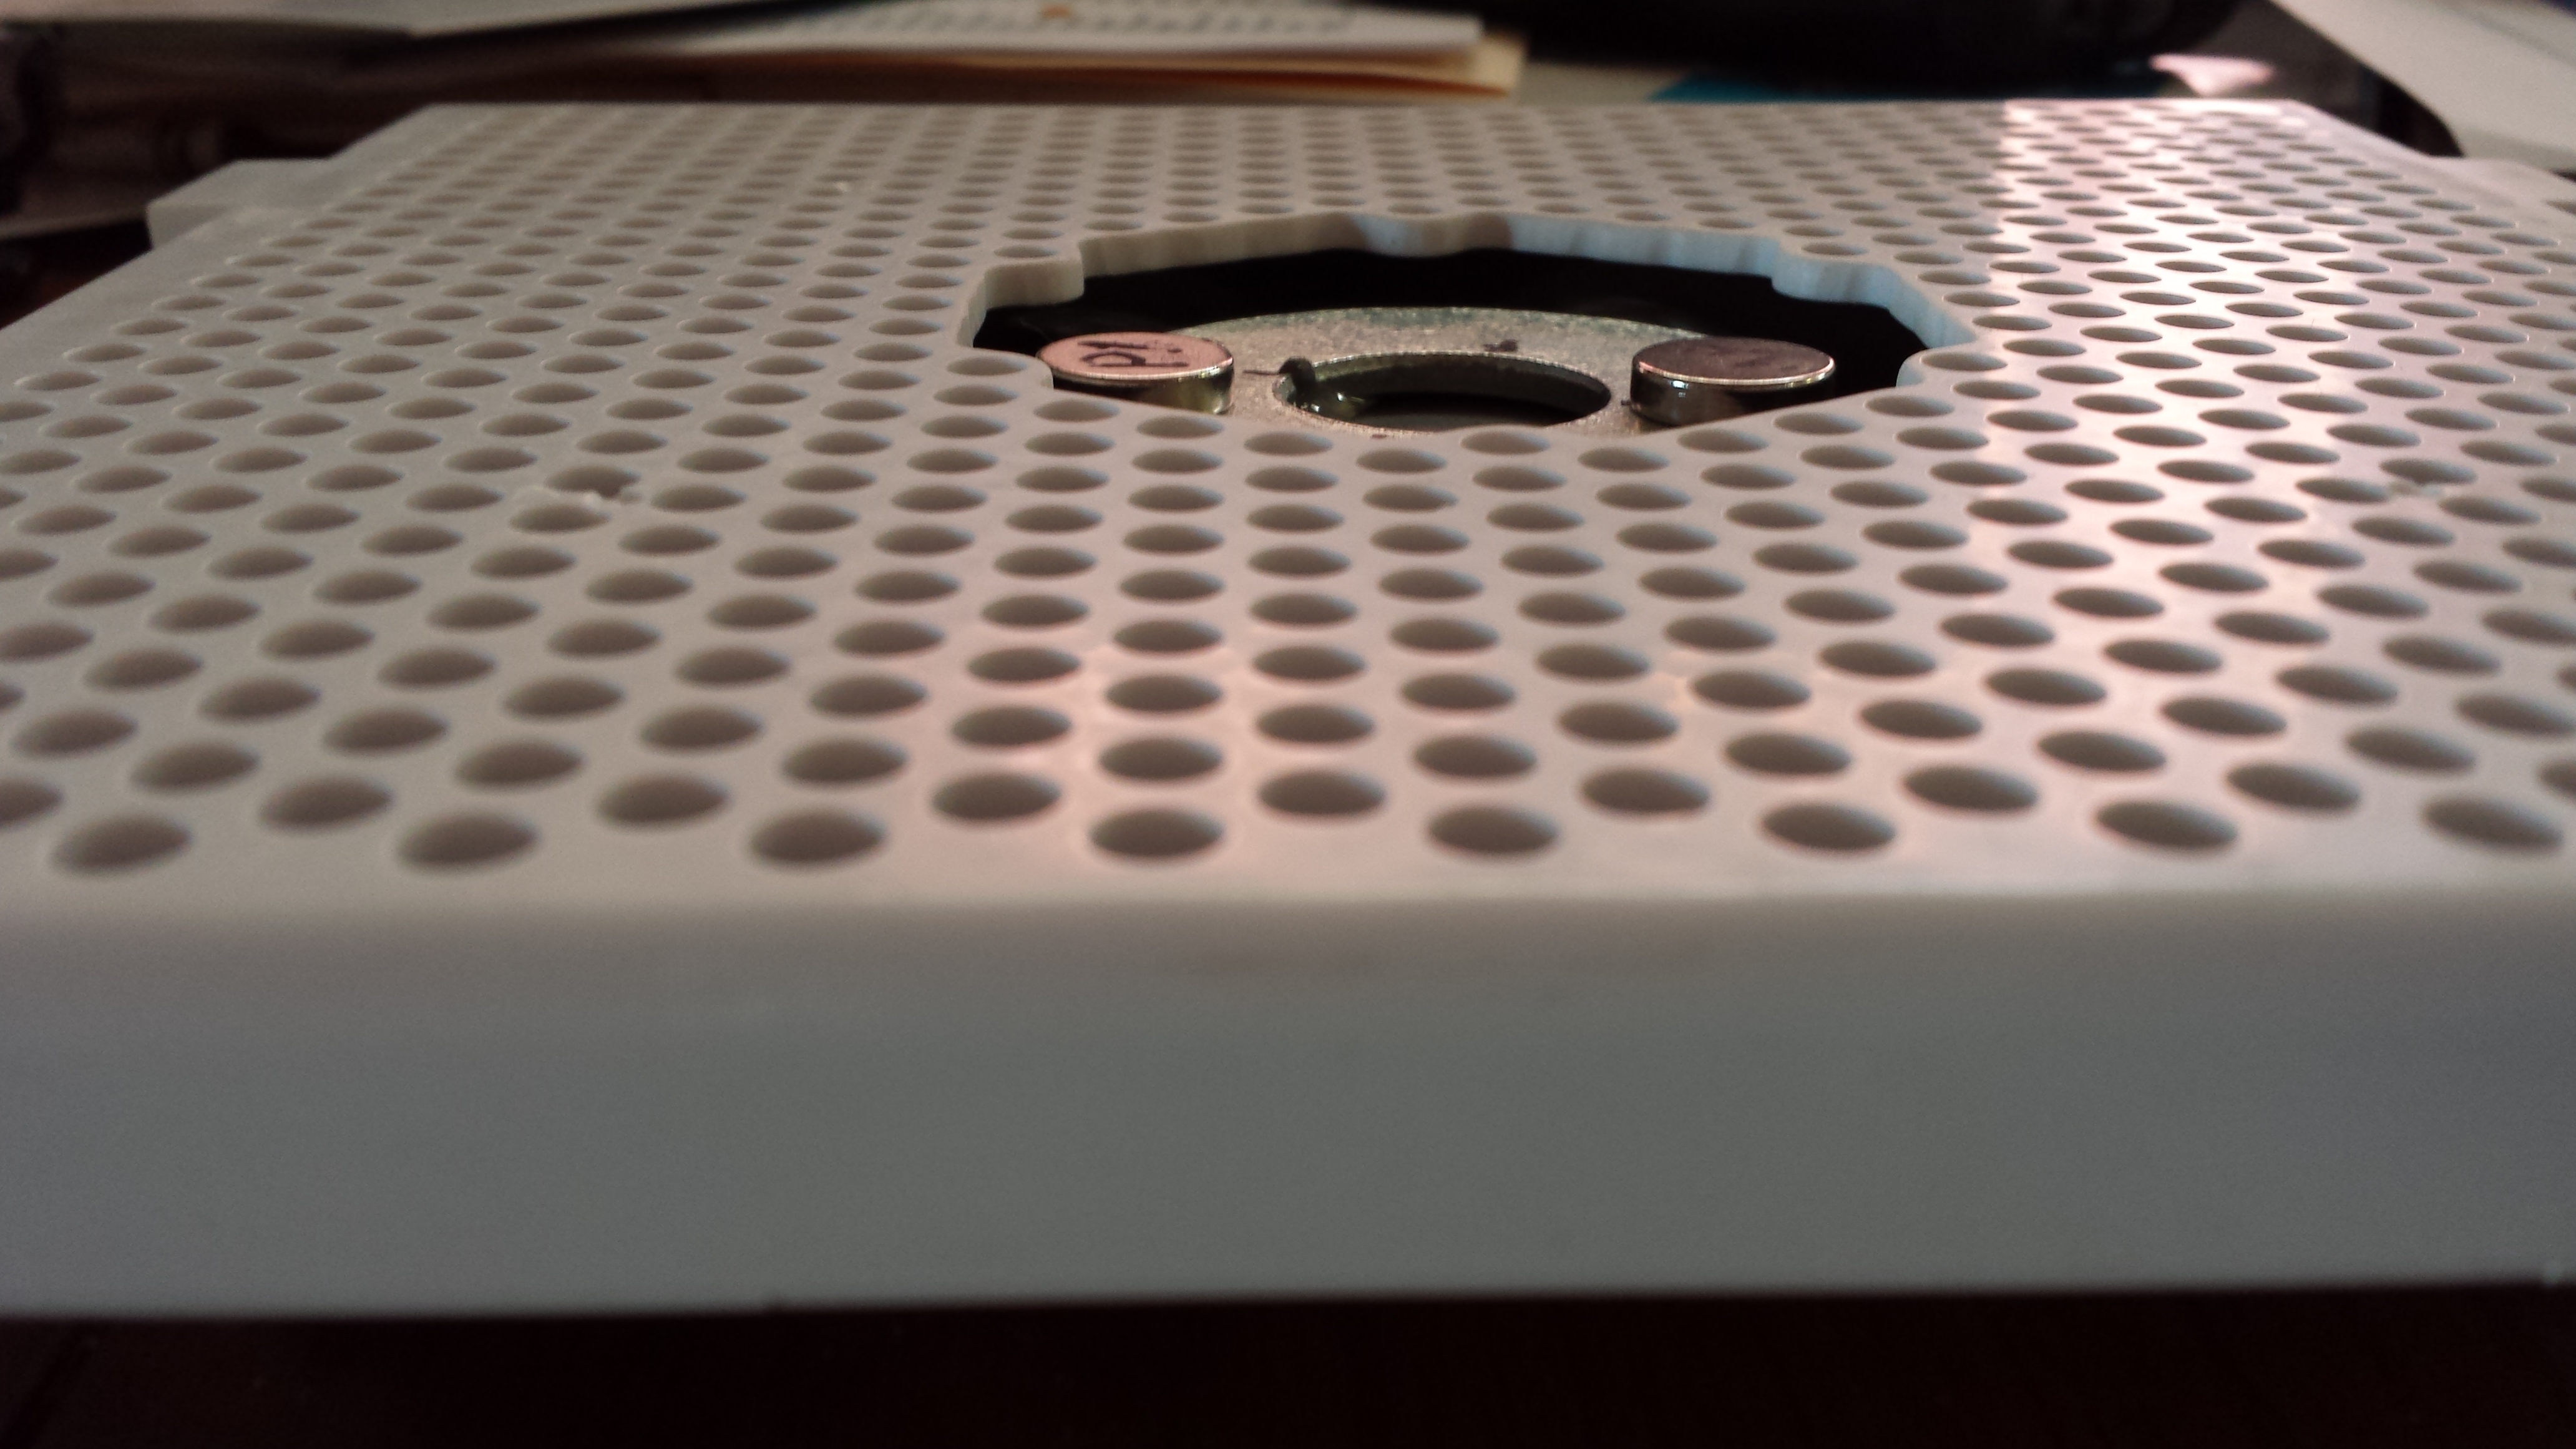
- Table to support Erlenmeyer flask above fan
- Had on hand/made from a ~10″ square piece of plastic, probably about 1/8″ thick, that came from one of those old lights that uses the heat from the bulb to turn an impeller (propeller? should look this up I guess) to cast a rotating image on walls/ceiling through a cellophane medium.
- Washer (large)
- Had on hand; if you don’t, less than a buck at the local hardware.
- 12V Power supply
- I had one of these on hand that already had a power switch, and had the quick wiring disconnects so I could just tie it right onto the red and black leads from my fan.
- Potentiometer
- I picked up a potentiometer from Radio Shack to allow me to control the speed, but I’m not sure I’m going to need it.
Build Process
The build process is more or less as described in the original article I linked to. I simply centered the large washer on the hub for my case fan and glued it in place with J-B Weld epoxy. As I noted, J-B Weld does appear to actually contain some steel, so I recommend mounting the washer without having the magnets stuck to it. Once the epoxy hardens, gently place the magnets on the washer approximately across from each other, spin the fan, and try to balance it as well as possible. I found that you can place the stir bar across the magnets directly and it helps to visualize how well it will be centered above the fan hub, and ultimately how efficiently and quietly the stir plate will operate.
Below are a few build/post build pictures.
Video of initial test
Leave a Reply